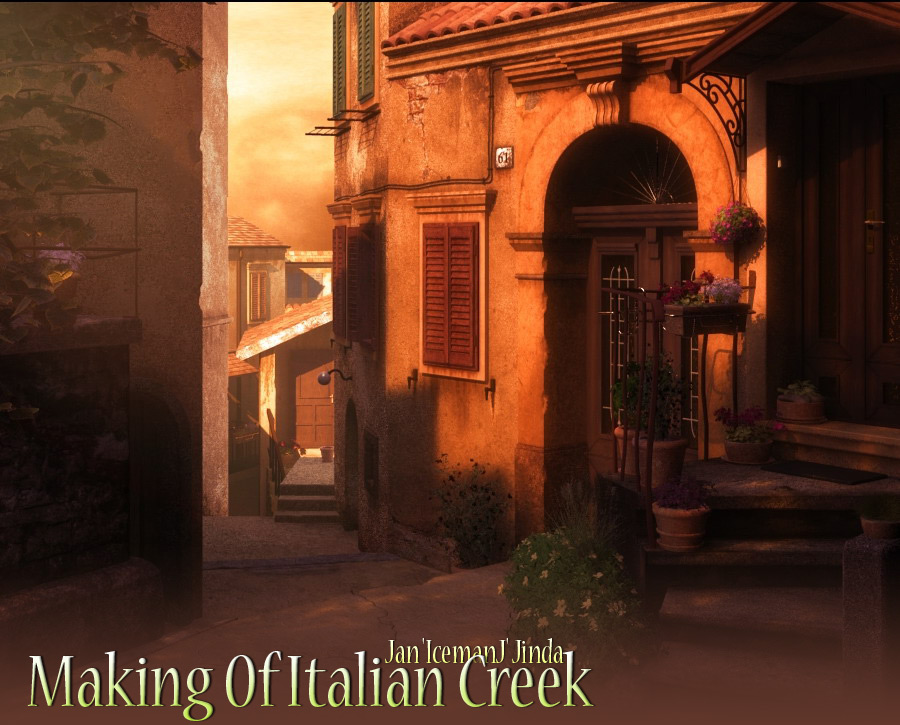
Making of Italian Creek
I’ll explain creation of my last picture Italian Creek. I want to show you my techniques and procedure. I’ll take it almost step by step and I’ll focus on most interesting parts of production.
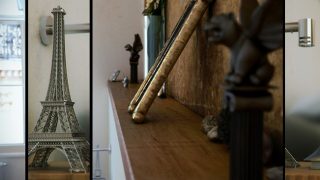
IntroductionI’ll explain creation of my last picture Italian Creek. I want to show you my techniques and procedure. I’ll take it almost step by step and I’ll focus on most interesting parts of production. InspirationI want to create some environment scene in short time, but in quiet high quality. I was surfing the web for some inspiration and I found some great photos, but the best photo found by my friend. It’s photo made by Sanja Veletanlic. I didn’t want to change anything in the scene accept lighting and then some details because of time. BlockingFirst of all I prepared lines in original photo in Photoshop for better orientation, after that I’ve created a camera in max and set up resolution aspect same as in original, then I applied photo with perspective lines as a viewport background in camera view. So my scene was ready for blocking part. This is one of the most important parts in creation of “copy” of some photo. I built the whole scene with simple boxes with their approximate position and orientation. Then I tweaked the whole scene because it wasn’t very accurate, because I didn’t know lens of camera etc. so I fixed for example sizes of steps and pavements. A lot of problems with the houses in background, but I’ve tweaked it and faked it a bit. I don’t know why but I wasn’t able to hit correct distances etc, but from camera view everything is all right :-) ModelingI didn’t use any special techniques for modeling. It was only standard poly modeling and basic modifiers like Bend, Noise, FFD, Lathe etc. You can see some more interesting models in pictures. I must point out that plants and tree are models from database. I don’t think that modeling of this scene was difficult. Actually there are only modified basic primitives. After elementary modeling I added some irregularities to the scene by using Noise modifier, damaging corners of houses, deforming surface of pavements etc. In scenes like this organizations is very important. For example using layers, I got used to use script written for Blur Studios for layer management, it’s called the Onion (http://www.scriptspot.com/3ds-max/theonion). This script is like an upgrade of standard layer manager. You can create sub layers, give layer alternative materials or properties and many other useful things. I really recommend this script. I think we can close this chapter about modeling, it wasn’t too interesting, but we are going to move to chapter about texturing and this will be much more interesting. |
|
 |
 |
 |
|
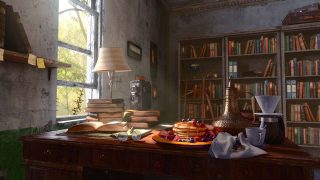
TexturingI think texturing was the most interesting part of production. I want to create really complex realistic looking textures. I used a lot of textures from mainly from cgtextures.com and from my own photo library. I paid most attention to textures which take most space in render. My final resolution was about 3000px so I must prepared suitable textures. Texture size should be two times bigger than its space in render. I tried to adjust resolution for almost all of my textures with my sample mapping reference (made by loocas duber – http://www.duber.cz/dump/uv_map_reference.jpg). If reference was sharp in render, resolution was right so I start to create final texture. In pictures you can see examples of some interesting textures. I used almost same technique, some base texture of surface, mostly desaturated or with very low saturation, then I was adding lot of other layers to achieve some irregularity, these textures maybe of little different color. After creation of some surface I add details and lot of dirt, because buildings are quite old. Finally I add color layer with some suitable blending mode and adjust levels etc. When I’m satisfied then I create other maps for material of the object, especially bump maps. I used finalRender R2 for rendering all materials and those are based on fR-Advanced material. Materials in scene are really really simple, nothing complex. |
|
 |
|
| This is my first project where I tried to use NodeJoe plugin. It’s awesome upgrade for materials in max. With NodeJoe, it’s really easy to create complex materials and mainly it helps to orient in maps of our material. In picture you can see tree of one most complex material used for cubes on pavement. I must point out that I’m using Color correct map, which is coming with finalRender, it allows you to control a lot of parameters of map directly in max such as brightness, contrast, RGB values or HSV etc. | |
 |
|
 |
|
 |
|
Lighting and RenderingLighting was very simple. As sunlight I used finalRender RecLight. The color was light orange, because I want to achieve warm sunset mood. Then I adjusted size of light, it caused little more blurred shadow. I also used skylight with physical sky and GI. For nice shadow from tree I used plane with opacity map. That’s all about lighting, simple as I said. More interesting part was rendering, I used pretty same technique as Tim Jones on DVD series about Environment creation from Gnomon Workshop (http://thegnomonworkshop.com/dvds/tjo01.html). I rendered background houses and the rest alone. I’ll explain my passes. Main was keylight, there was skylight and GI turned off and RecLight has a bit bigger multiplier, about 2. All passes were saved in 32bits with alpha. This is important; when you save in 32bits you can later adjust intensities of light, colors etc in large scale without damaging image. Then I rendered only ambient, it was skylight and GI, last pass was fog, with this I created little mood and fog for background. I rendered whole image with all the lights together and it took about one and half hour in 1000×863. Hardware was Core2duo 6600 and 2GB RAM; I must thank my friend Loocas Duber who lend me his computer for that when he was at Siggraph. So it’s time to put all passes together. PostproductionI want to try Eyeon Fusion for postproduction. I briefly wachted tutorial and try it. I’ll explain it shortly. If you want to learn Fusion better, you should download learning videos from eyeon’s website. I imported all passes to Fusion and also imported sky image. I applied Color Correct node on every footage and adjusted all parameters. Then I used Merge nodes to merge all image togehter. I also add Glow node to Keylight footage and finaly Hotspot node to simulate decent volumetric light. Above all nodes I applied final Color Correct and adjusted final look of image. You can see whole tree of nodes in picture below. |
 |
 |
|
 |
|
ConclusionSo, I explained whole creation of Italian Creek. I know there are lot of things to tweak and make them better but I need to create this image in approximately 10 days. Finaly I made it on evening and weekend in nine days. I want to thank my friends for valuable advices and support. I hope that you enjoyed my Making of and it was useful for you. Jan ‘IcemanJ’ Jinda Related LinksAuthor’s Homepage: http://www.janjinda.com/ Email: janjinda@janjinda.com |
 |


About The Author
You might be interested in