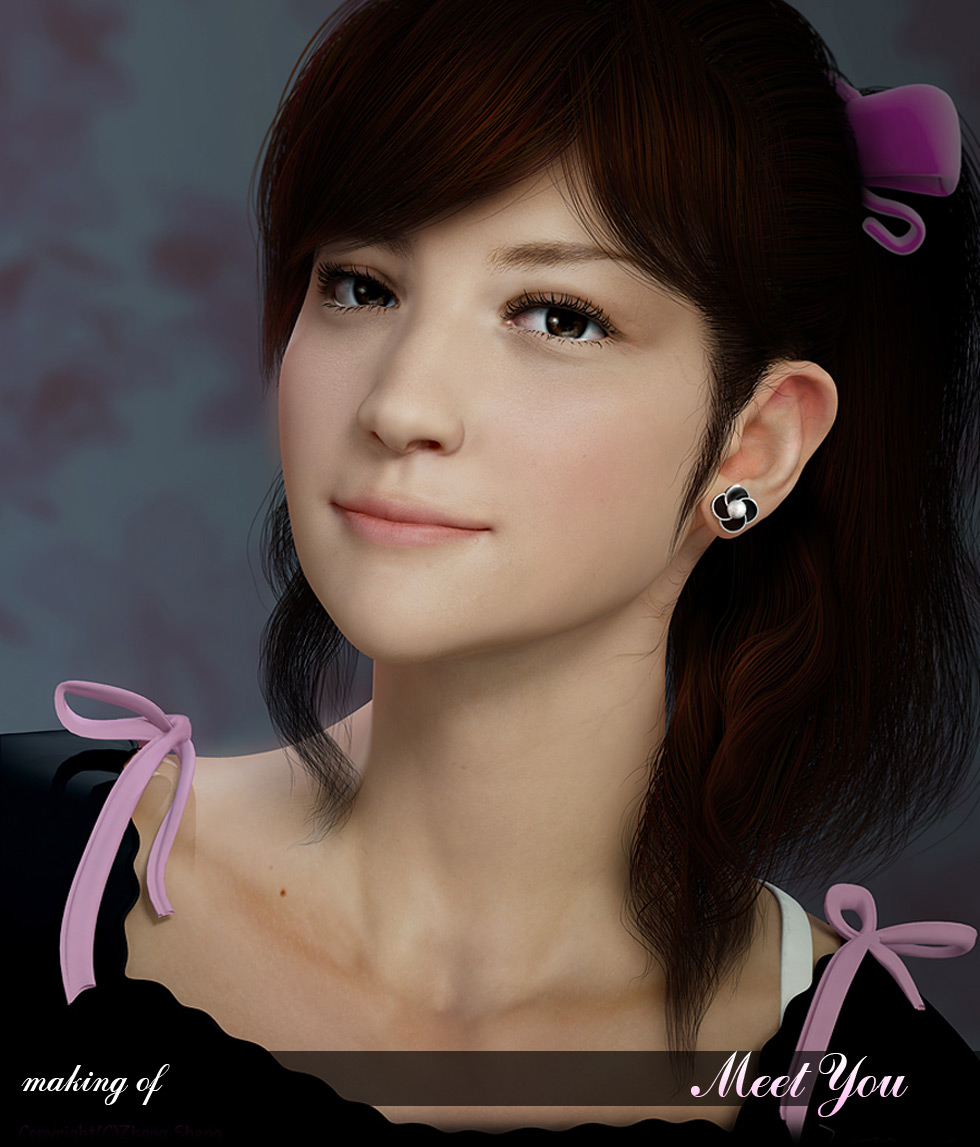
Making of Meet You
My name is Zhang Sheng. ‘meet you’ is my latest works. I Am glad there is a lot of friends like it. Would also like to thank the 3dm3.com assist, so that I can share the production process.
IntroHello everyone. My name is Zhang Sheng. ‘Meet you’ is my latest works. I Am glad there is a lot of friends like it. Would also like to thank the 3dm3.com assist, so that I can share the production process. ConceptionBefore I make a number of other 3d works, including the robot, variation and so on .Time at university, I study painting at the Art Institute. Thinking and techniques of painting has been affecting me. This time, I want to portray a cute Oriental girls, a unique beauty of the Orient. She is fashionable, confident, there is lively. I collected some photos as a reference, but I do not want to produce in accordance with any one. I want to create a Girl. ModellingI used maya create a basic model (fig.01). At time .I pay attention to the ratio of model and topology.
SculptingMy basic model output for obj file, and then sculpting the model in ZBrush(fig.02). Frankly speaking, zbrush is a very high efficiency of the modeling tools, I can be relaxed shape I want to model. This will also benefit from my study of painting experience.
Because I will give her clothes put on, so I do not have too many physical details of sculpture. May be added later on.(fig.03)
Hand carved my reference to my own hand(fig.04). Ha ~, this is a fun process, feel that they become part of the character. Thank God for giving me a pair of slender hands.
|


UvsModel of good sculpture, I start editing model Uvs. Edit now uv mapping to avoid deformation. Output of a model for .obj, then open it using Unfold3d. Then select edges are cut open, unfolding, everything is easy(fig.05). Unfold3d is an excellent software.
Now uv layout was confusing, and my own needs in accordance with the re-distribution at maya. Maya’s ‘Move uv shell tool’ and ‘Rotate uv’ tool is useful(fig.06).
TextureI use photographs as material. And the use of zbrush projection master to texture mapping(fig.07).
Mapping the characters front, side, bottom, top and back. I use photoshop then get the complete texture(fig.08).
I used to display maps in ZBrush, and then find out the problem and correct it. In my opinion this is a very effective way. I also use my ZBrush material to show skin, so I can estimate the final results(fig.09). In order to get enough details, I created a map of 6000×6000.
|


PoseIf there is no zbrush, posture adjustment model would be a troublesome thing, because to create a set of skin and bone weights. Zbrush3.1 I use the Transpose tool to regulate the posture is very easy(fig.10).
And I use the ‘move brush’ and open ‘Activate symmetry’, make the smiley(fig.11). In my opinion the production of facial expressions are most important part. I tried to do a like ‘Mona. Lisa’ as charming smile. I hope that she can touch everyone.
Skin shaderI used maya mentalray ‘misss_fast_skin’. To create the character of the skin(fig.12). The shader is easy, I do not use mix20layer and other shader. Since I am now satisfied with the skin.
This is the color mapping, bump mapping and specular mapping(fig.13).
Rendering the results of a test(fig.14).
I use maya textures to create eye texture. Distinction between the use of ramp and the white of the eye iris.The use of a set of noise-node combination to produce the iris texture. The use of a group of marble nodes to produce the bloodshot white of the eye. (fig.15).
|


Hair and BrowHair production is a challenging job. First of all I draw hair in photoshop in the draft to determine the Hair Style and composition(fig.16).
I think about ‘Shave and a haircut’ Is the best tool for the production of hair. Create a polymesh as the scalp to generate hair, and use more than most guide line nurbs curve to control hair(fig.17).
Analysis of my hair, and up from the original model to replicate as many block poly scalp. Cv curve tool used to create more nurbs curve to guide the hair(fig.18).
Ways to create the same eyebrows. Use the shave brush tool Combing hair(fig.19) .The shape of the hair also needs to Combing. Adjust better shape, but also necessary for hair color, quantity, thickness and other characteristics, in order to complete the production of hair.
Here is the final render.
I hope this tutorial has been helpful for you. Thanks for taking the time to view my tutorial and thanks to 3dm3.com for the great opportunity! Related Links |


About The Author
You might be interested in