Correcting the Vray and mental ray self-illumination display in the viewport
The following tutorial assumes that the user has a basic knowledge of 3Ds Max when applying textures to the self-illumination toggle; applying the “UVW map” modifier and assigning material slots to objects/surfaces.
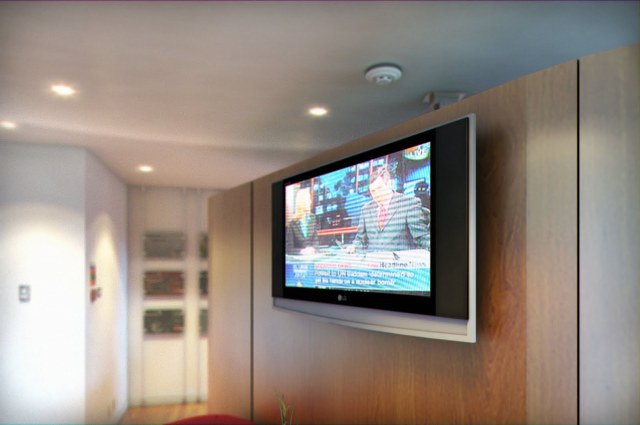
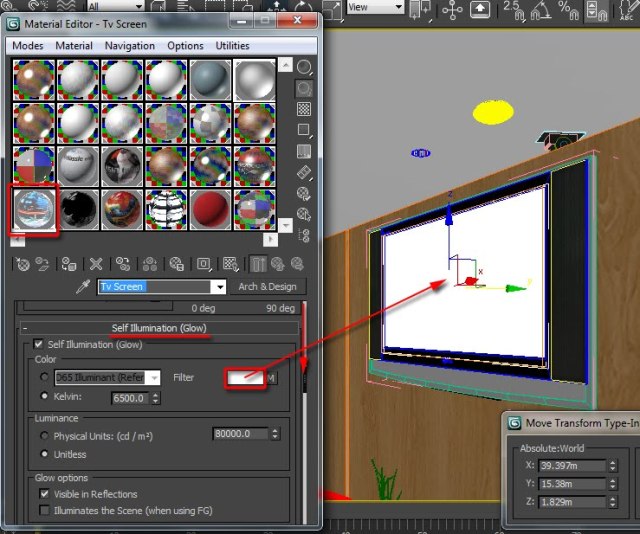
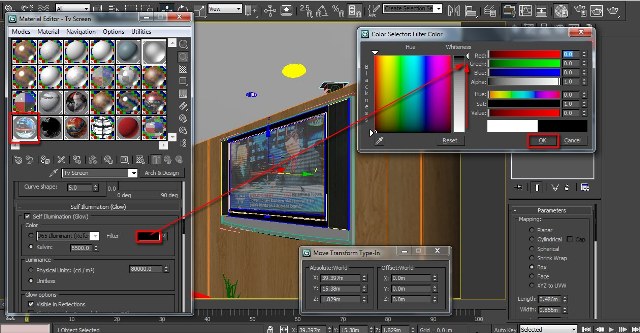
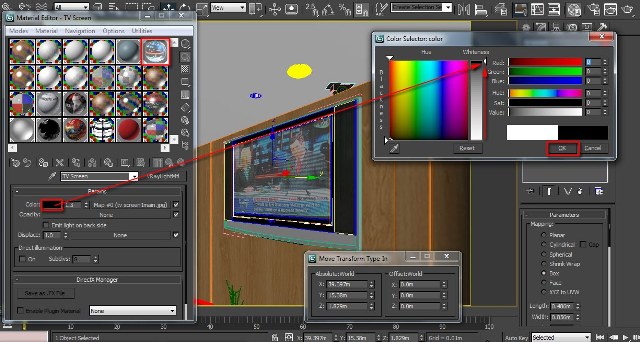
When using a bitmap in the “VrayLightMtl” or mental ray “Self Illumination (Glow)” toggle, the texture display is often overridden by its default colour swatch (i.e. white) in the viewport.
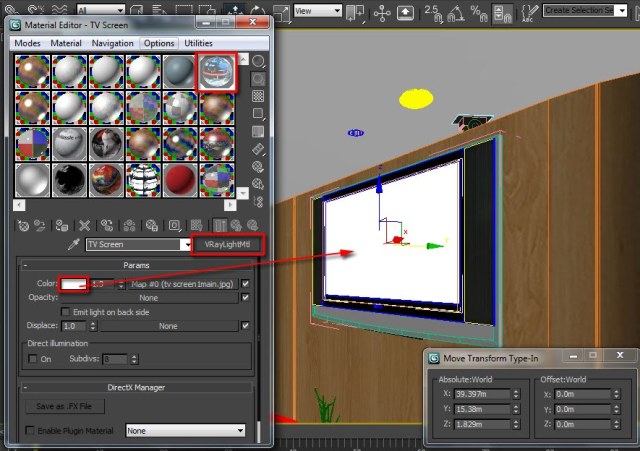
The viewport artifact occurs even when the “Show Standard Map in Viewport” button is enabled in the “Bitmap” parameters.

It’s also worth mentioning that this problem is only specific to 3Ds Max 2012 and 2013.
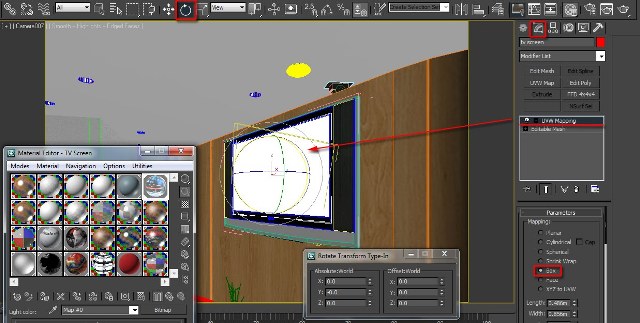
This current “bottleneck” is a major setback to users trying to tweak the bitmap to fit a specific area of a surface while using the “UVW map” modifier.
So far, some users resort to numerous unpractical solutions to overcome this hurdle.
The practical approach frequently used by most professionals to correct this viewport artifact, is to simply change the self-Illumination default colour swatch, to 100% black.
This “trick” will enable the self-illumination texture to automatically become visible in the viewport, for both Vray or mental ray.
or


About The Author
You might be interested in