Making Of “Caribbean Mermaid”
I’d like to share with you my workflow to make this mermaid from modeling, texturing until the final rendering.
Introduction
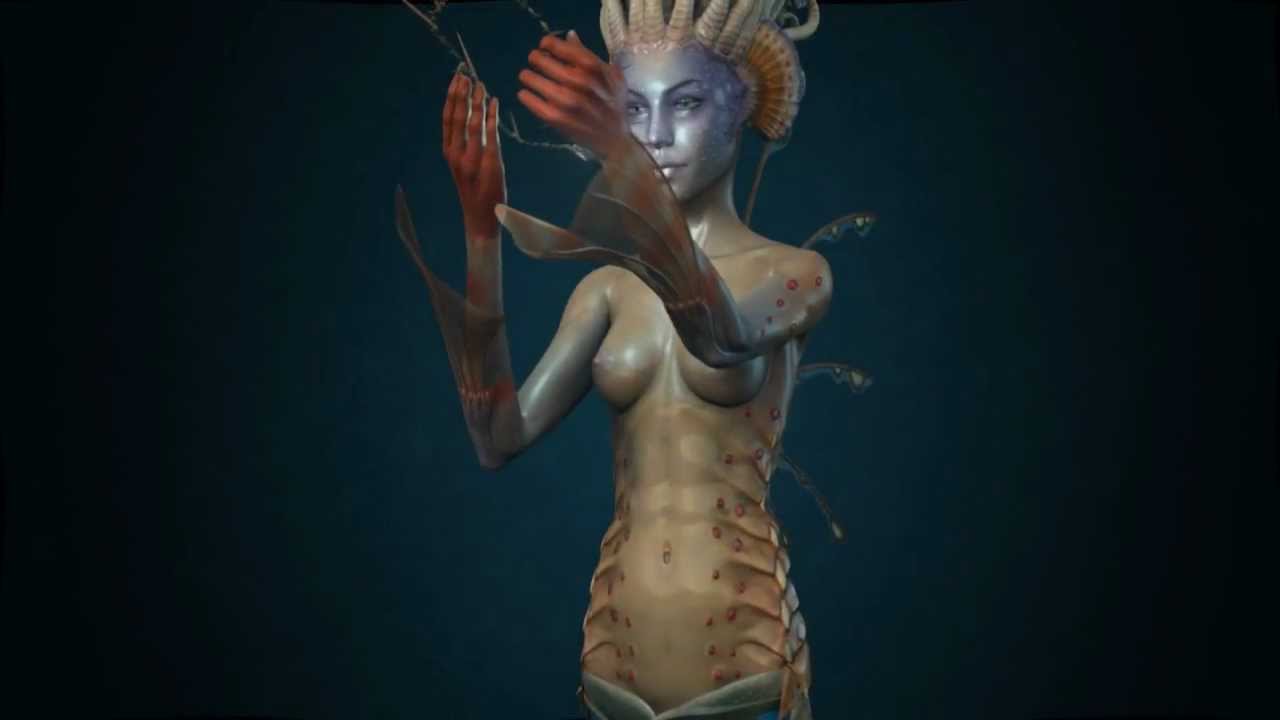
Hello everyone! I’d like to share with you my workflow to make this mermaid from modeling, texturing until the final rendering. The idea of doing this mermaid, came when a friend showed me the artbook of the Spiderwick Chronicles, and I was marveled at the colors and shape. The interesting thing about all this, which was also when I started modeling, I posted some updates on my blog and soon after the own Tony DiTerlizzi (author of the original image), contacted me asking if he could not post on your blog. (http://diterlizzi.com/home/a-masterful-friday-fan-art) I was very glad he enjoyed of the work, since I’m a fan of his works. Who wants to follow the subject in his blog feel comfortable. Well, We go to the making of.
Basic Modeling:
Because of its elaborate silhouette, I decided to do poly by poly modeling in most of the time in side view and adjusting in the other views. I wanted at the beginning to follow their true proportions and then gave my personal touch.

(fig.01)
When I looked at the drawing, I came up with a question, how would I do her hair drawn. One way I found easiest was to nurbs. I drew with curves in side view and used the option to extrude the menu surface. The cool thing it allows me to set the thickness of each end, so I left the thicker base and the top thinner.

(fig.02)
After finishing my base mesh I went to the next step. I decided to map it before taking to the zbrush, because then I would use some textures to assist me in modeling.

(fig.03)
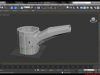
Zbrush Modeling:
With my base mesh ready I imported all the parts of it in zbrush subtools. To facilitate this process of sending mesh to zbrush, sometimes use the GoZbrush.

(fig.04)
I started the modeling process by defining the best ways and adding details to the body. The brushes that I use most often are: Move, Standard, Clay Tubes, Inflate, Flatten, Slash and Pinch.

(fig.05)
For some parts like hair I did some alphas in photoshop based on my mapping. I imported the menu in zbrush alpha and used as a mask. Then went to deformation and the tools used to sculpt my Inflate the mesh based on the mask.

(fig.06)
After much work, finished the part of modeling in zbrush.

(fig.07)

(fig.08)
Textures and Shaders:
To make the texture I used the polypaint zbrush. To get an accurate color reference I put the image of the concept in the spotlight and painted on the base model only. Then I pick giving color and painting according to the reference.

(fig.09)
Once finished polypaint started to export the textures: difuse, normal map and displacement. Other maps made starting these using photoshop.

(fig.10)
After finishing my textures, I returned to maya to configure and set up my shaders. For the most part of the model I used the “miss fast skin maya” mental ray. To the eye and collar I used a phong material defaul maya.

(fig.11)
Render and Composition:
To illuminate my scene, I used an image in hdr option “Image Basing Lighting” mental ray, and color again put a blue color to give an atmosphere contrasting with the orange light of the collar. For lighting of the collar I used a Point Light with Linear Decay Rate.

(fig.12)
I did the render in three simple steps: diffuse illumination, then with the light of the collar,
and occlusion.

(fig.13)
With these steps completed, assembled them in layers in photoshop and did some color corrections. After some adjustments then finished off the model.

(fig.14)

(fig.15)
For video I used the same steps and I did the composition in After Effects.
Hope you enjoyed! Who wants to watch the video follow the link. Until next time!

About The Author
You might be interested in