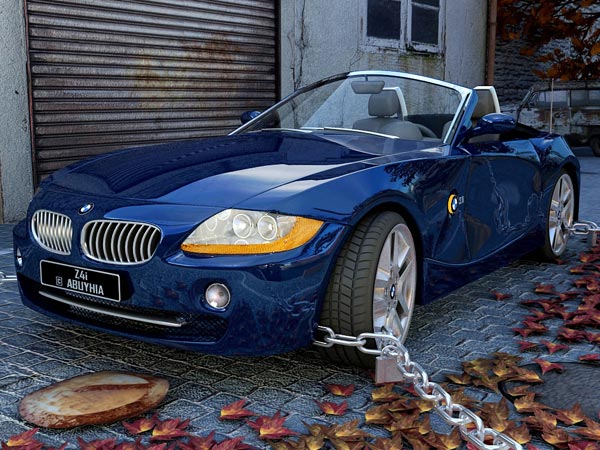
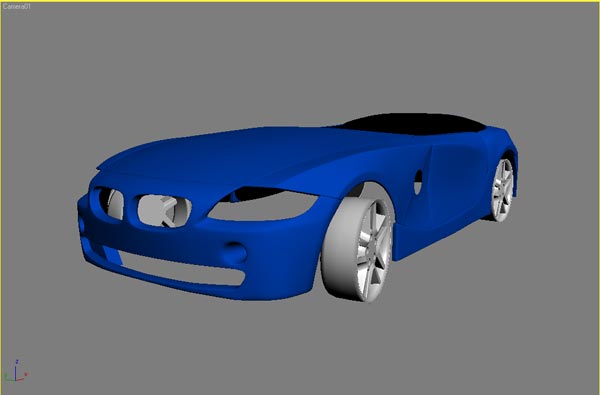
Z4 Unleashed
The snatch of this car was and binding by chains, but Z4 can breaking this chain, so Z4 unleashed.
Hello, my name is Mohamed Abuyhia from Alexandria Egypt. It is the first time for me in the cars modeling I was thought that it is complicated but after this try I found that it is so simple so, I did this tutorial which rapidly explain how I format the car, textures, materials and the rendering lastly.
Before start
Before talking on any thing firstly I have to select high quality blueprints and as usual it will cut into Photoshop program, and this what is found in most of tutorials, but I will add an important and small notice, after put the blueprints inside the 3d max appear this shape.

Then we will notice that it is deformed so we have to follow this: Open the menu customize and select preferences then view ports
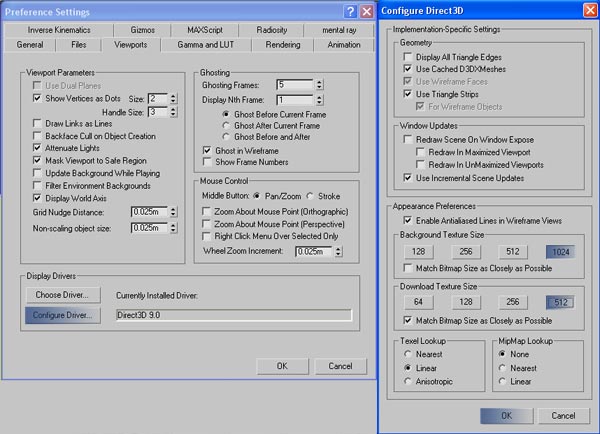
By this appear the blueprints by this shape:
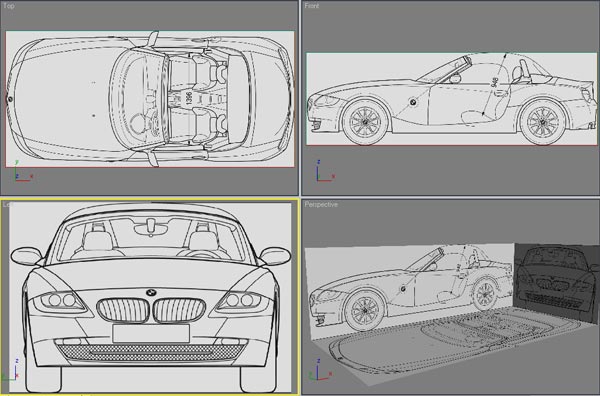
Then select all planes & click on right button of mouse & select object properties & then cancel “show frozen in gray” then do activation to the selection freeze

Part 1 the modeling:
Draw plane and transfer it to editable poly:

Then complete this plane around the whole frame of the car
By choosing edges inside the order editable poly you can complete the drawing around the blueprints:

From the upper part redo the same previous step
The same what happen but from the lift view again

Appear this shape & repeat the same previous trial this from the top view
After complete the whole anterior part then remove the place of lantern & the net:
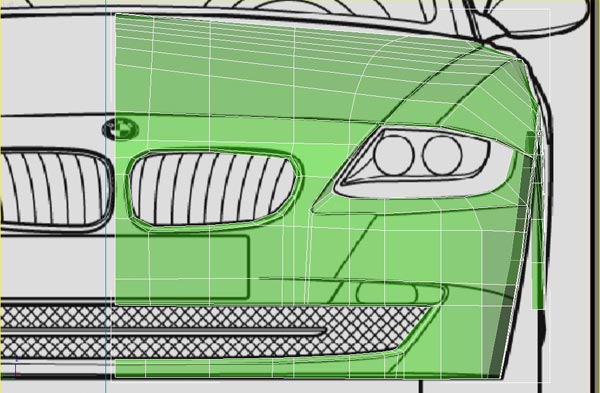
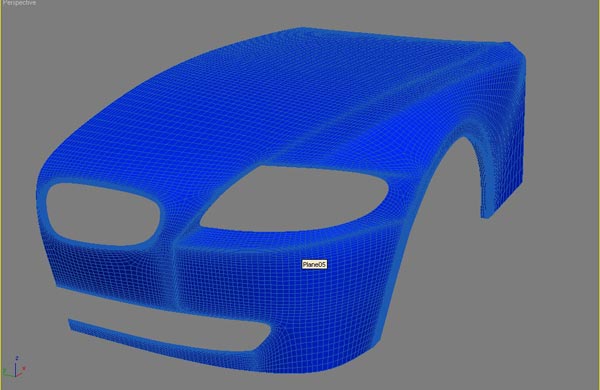
Then after select the order mesh smooth appear the fronted part of the car by this shape
In this stage phase we will separate each part by using the order detach
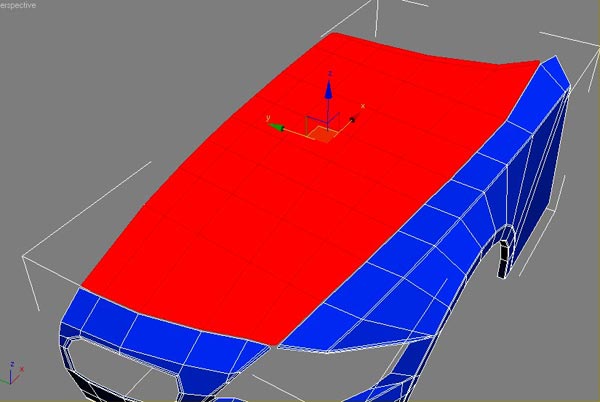
Then do extrude to the whole part then it will de have thickness
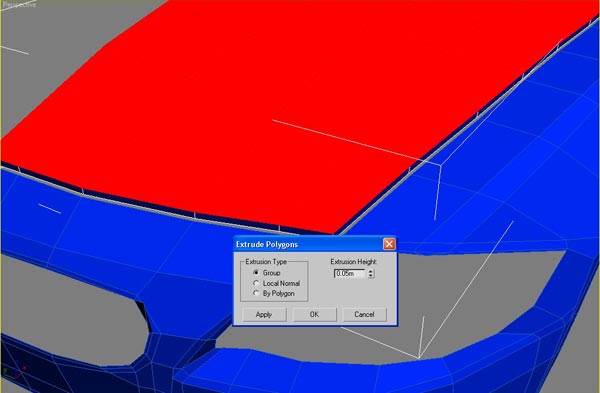
Then do chamfer to the edges after choosing the edges

After separate each part alone & done mesh smooth appear the anterior part of the car
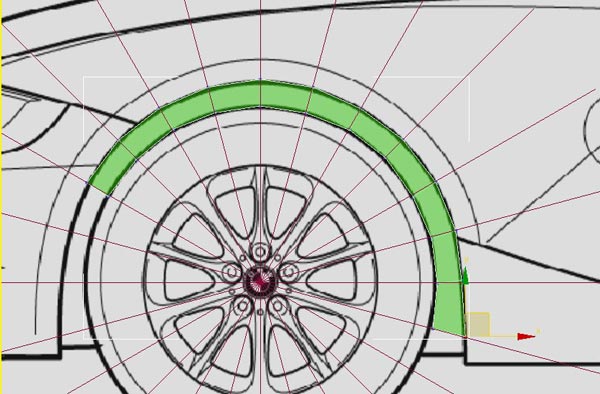
By using order cut do circular cutting to this part
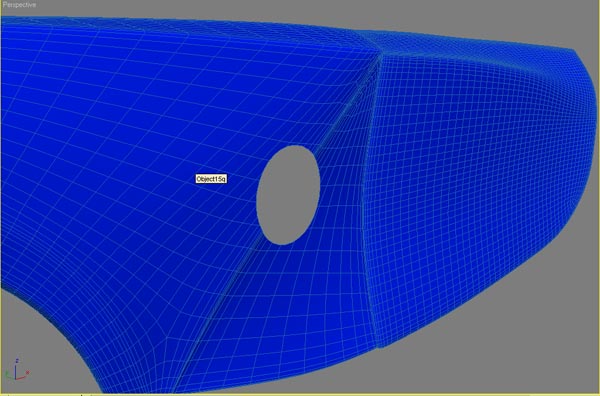
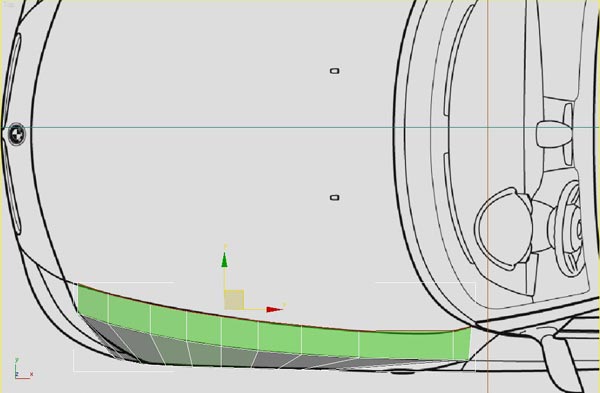
By using the same previous steps do complete to parts of the car as the door
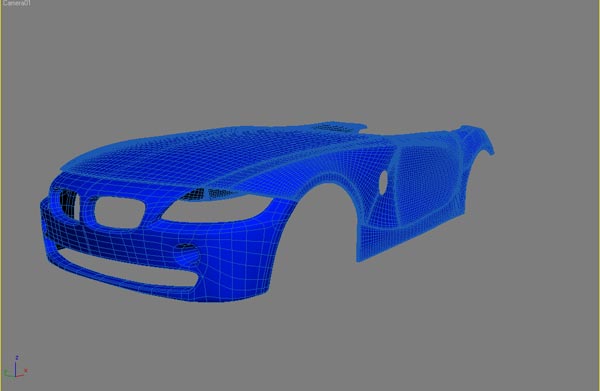
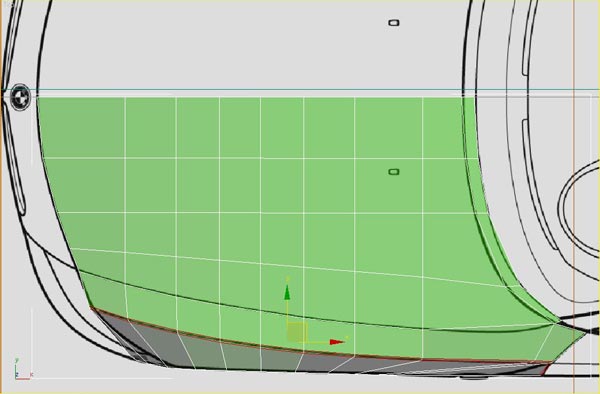
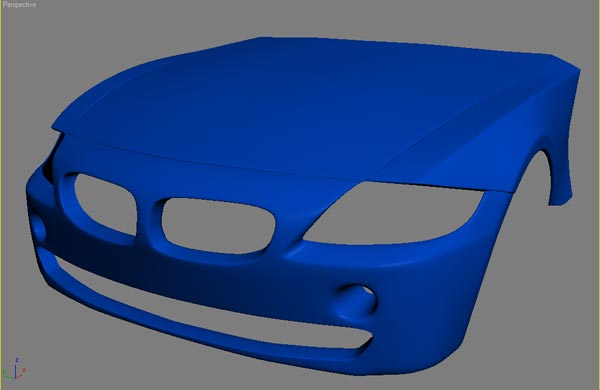
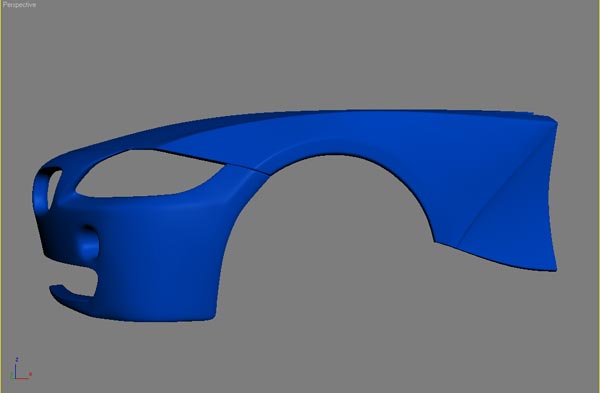
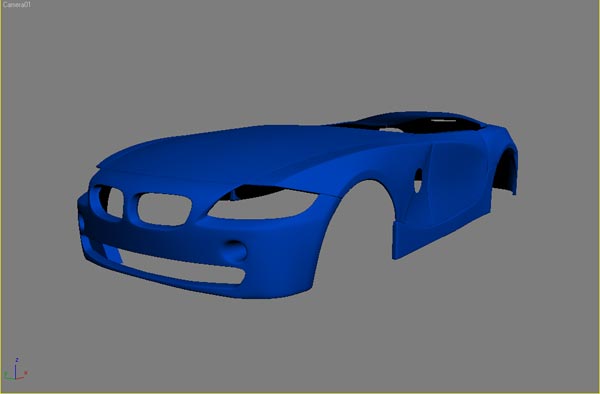
Repeat these steps until appear all the car by this shape
Repeat the same previous step to oblation this shape
Do another parts of the car by using order editable poly
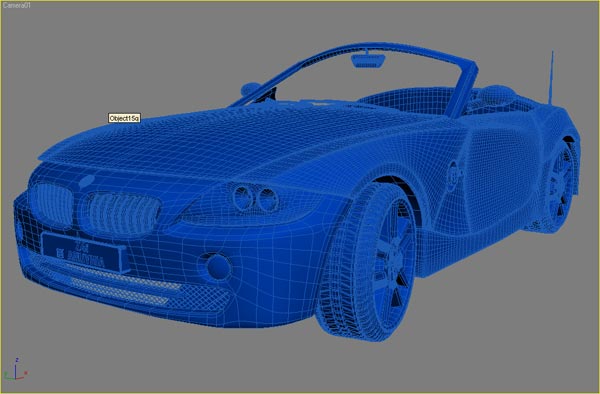
Then complete whole scene to appear this form
By this winding the first phase forming modeling.
Part 2 materials and textures:
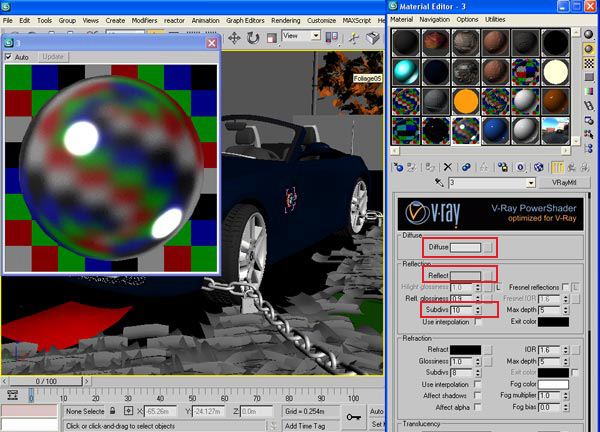
Now we will learn making textures in materials editor using V-RAY
Doors Garage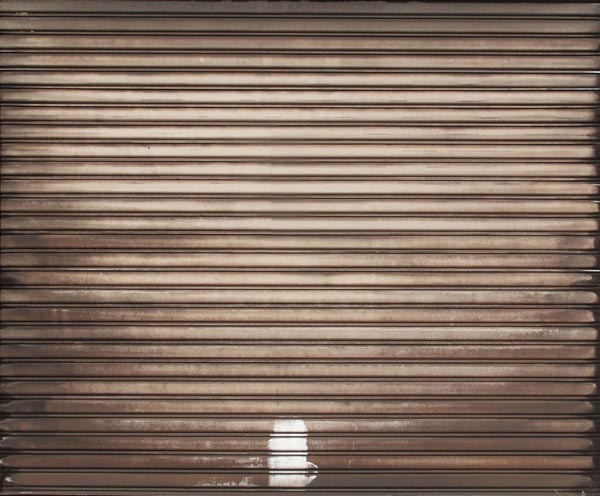
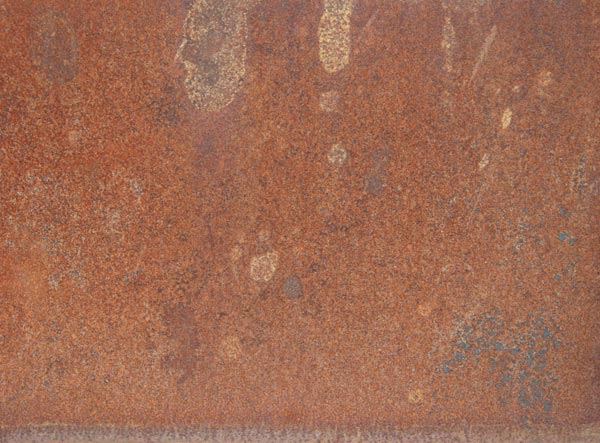
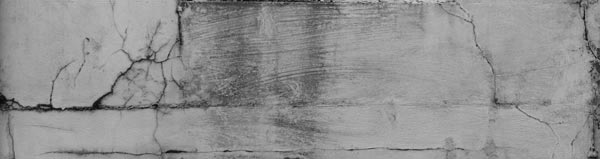
Rust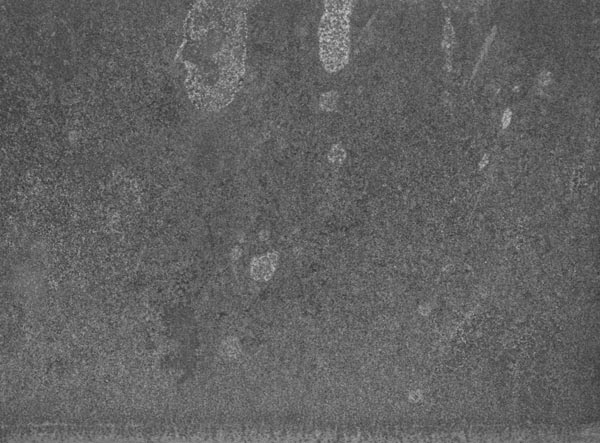
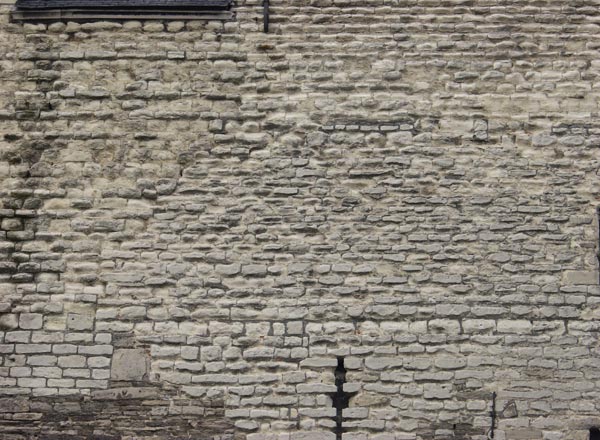
Wall
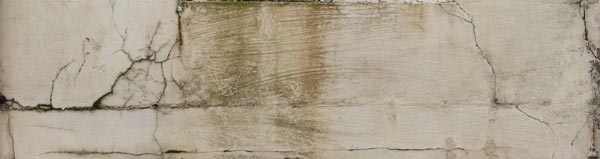
Wall

Ground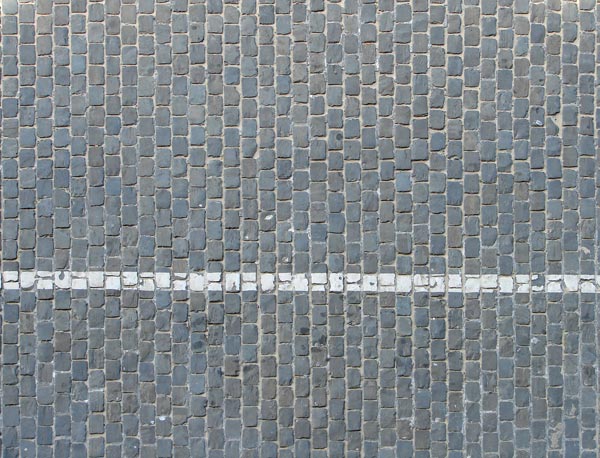

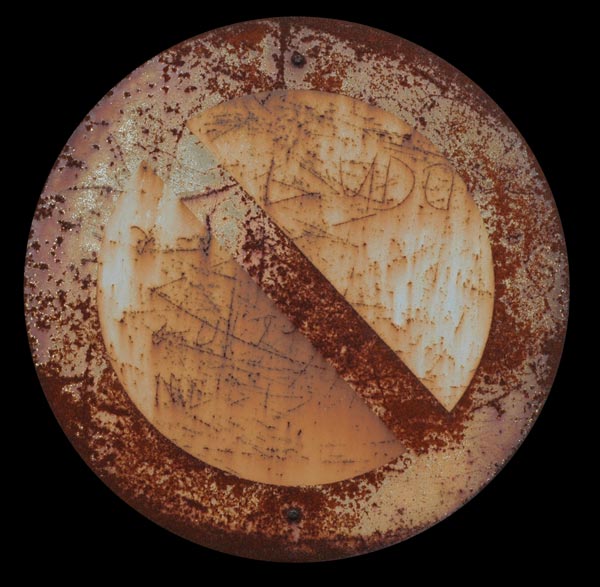
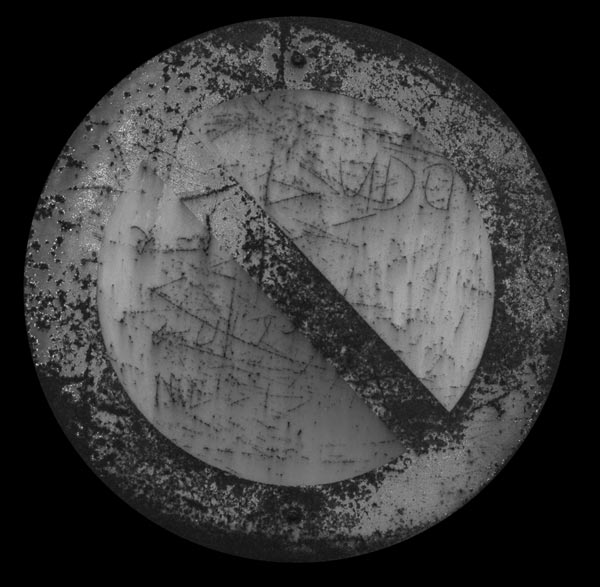
Signal

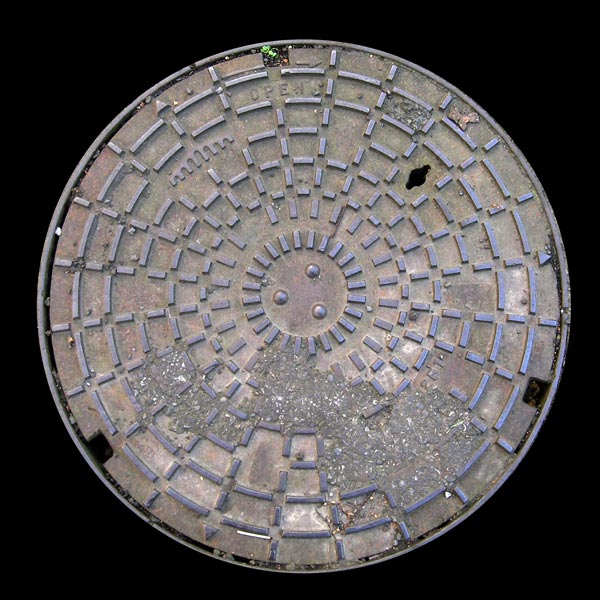
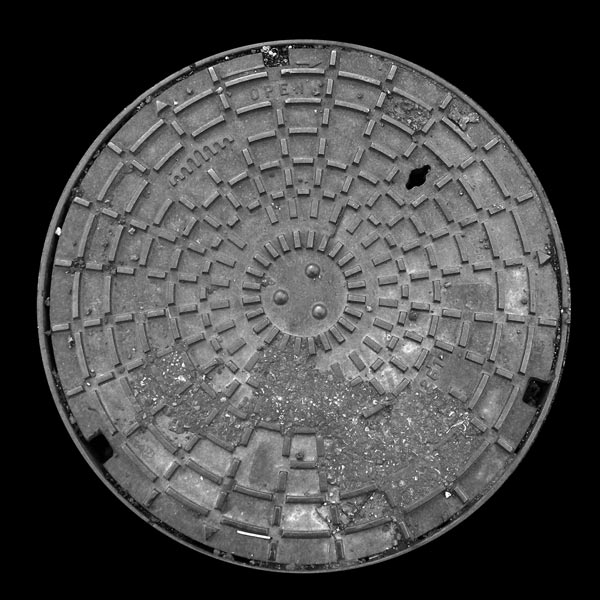
Sewer
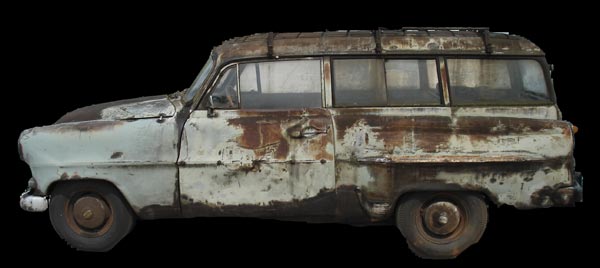
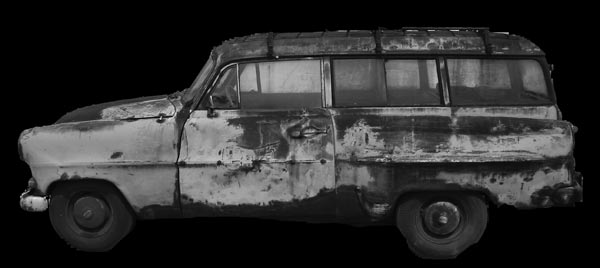
Old car
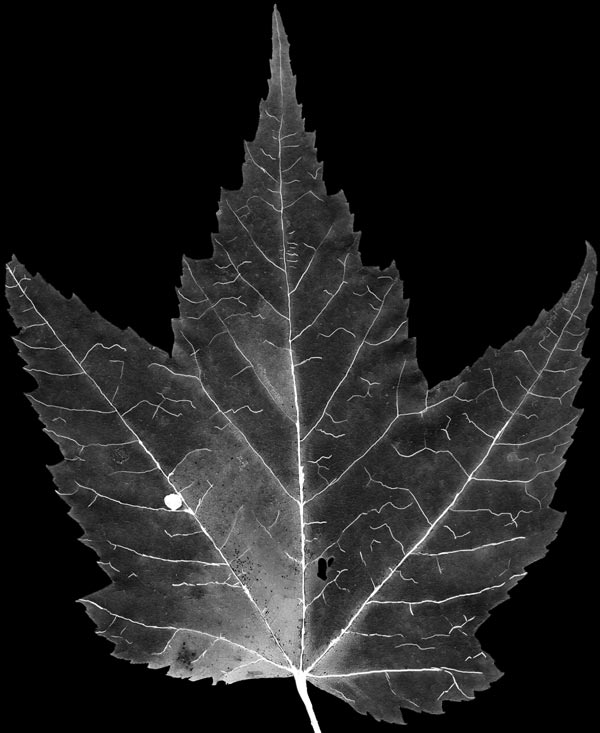
Leaf


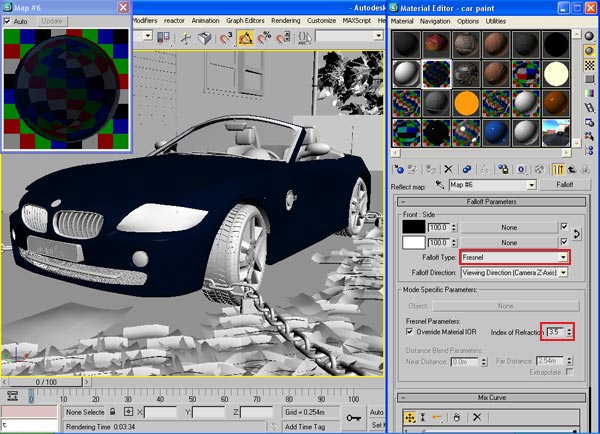
Car painting
In diffuse channel select any color and increase reflection to 40
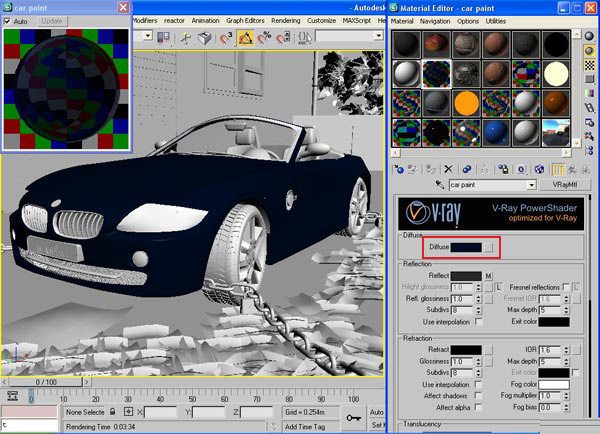
Select falloff in reflect channel

In falloff type select fresnel and index of reflection 3.5
Glass

Silver
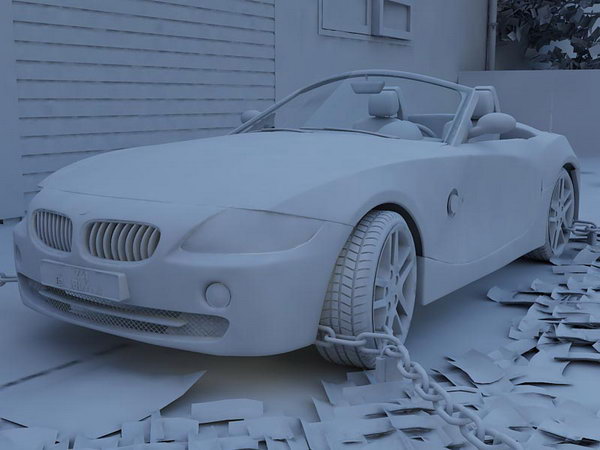
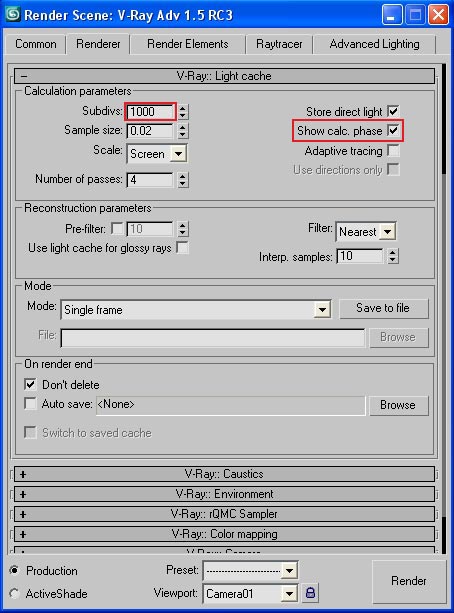
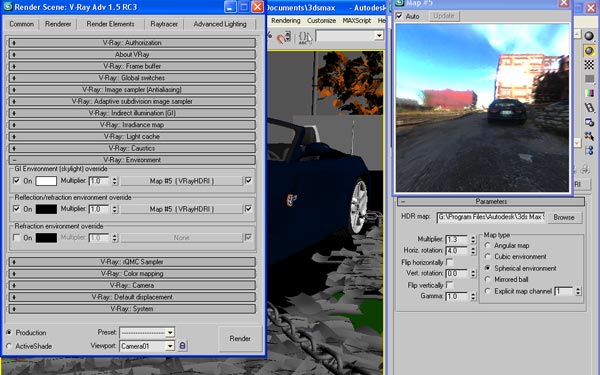
Part 3 lighting and rendering:
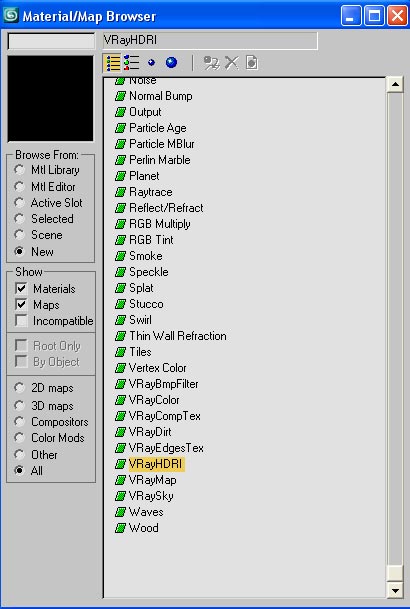
The lighting epitomized by HDRI image only
From material editor > get material > VrayHDI and select you HDRI image
Rendering
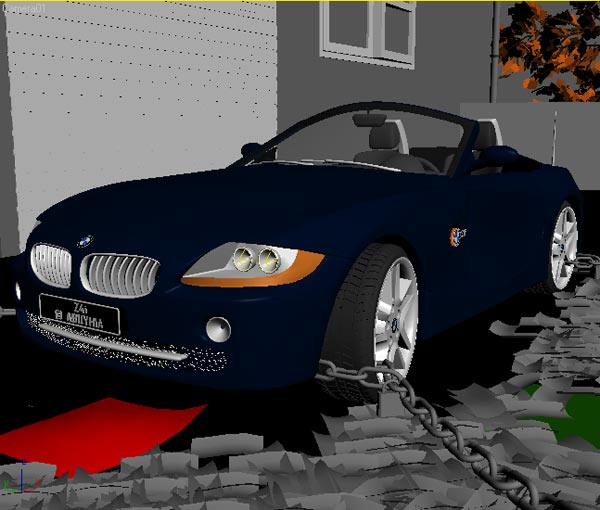
See the following steps:
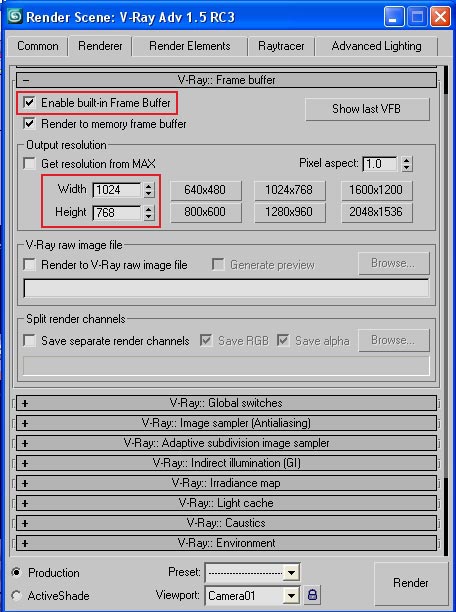
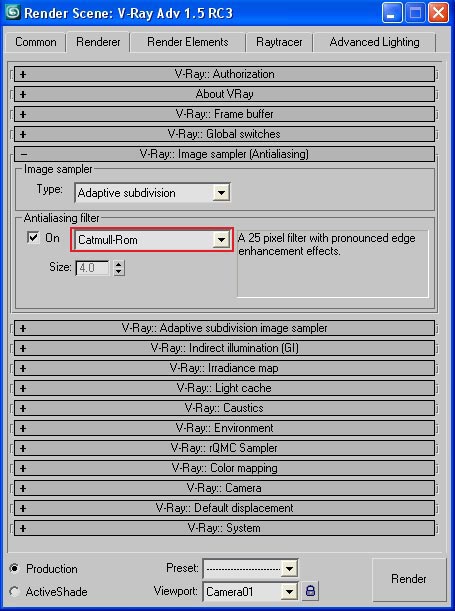
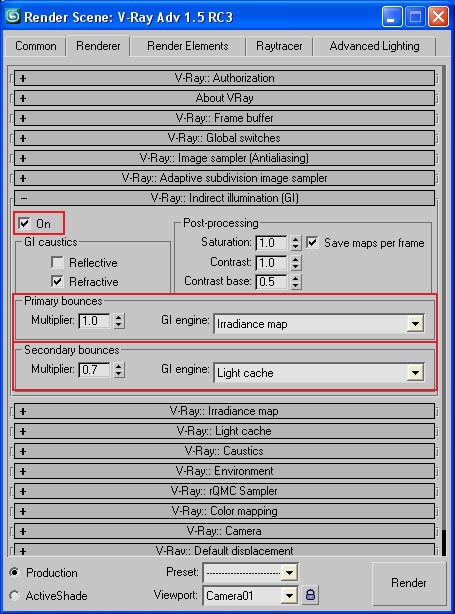
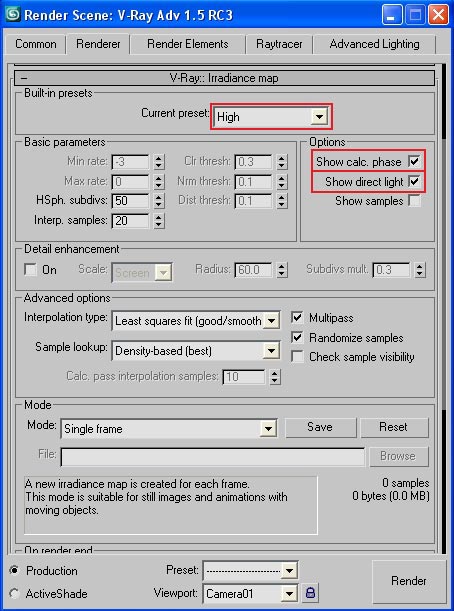

After the render this will be the result:

With my greetings
Mohamed Abuyhia


About The Author
You might be interested in