Modelling of VAZ 21093 by Kazus
Hello everyone. Today I start newinteractive tutorial on 3DM3. It will be car-modelling tutorial. I choosed VAZ21093 car. Why? Because it is simple to do for begginers.
Everybody can take part in this tutorial. Soon I will start modelling right now!!!
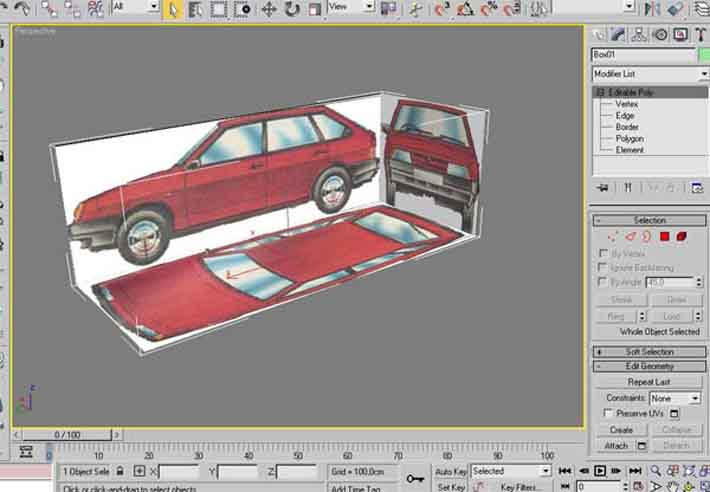
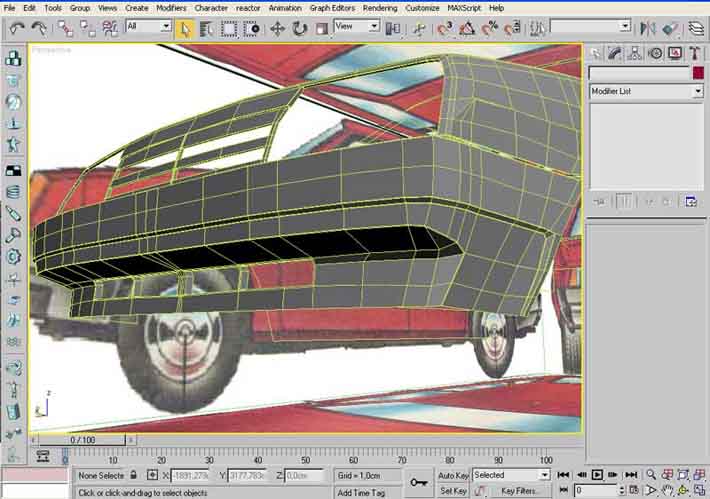
First step. Setting up the scene for modeling.
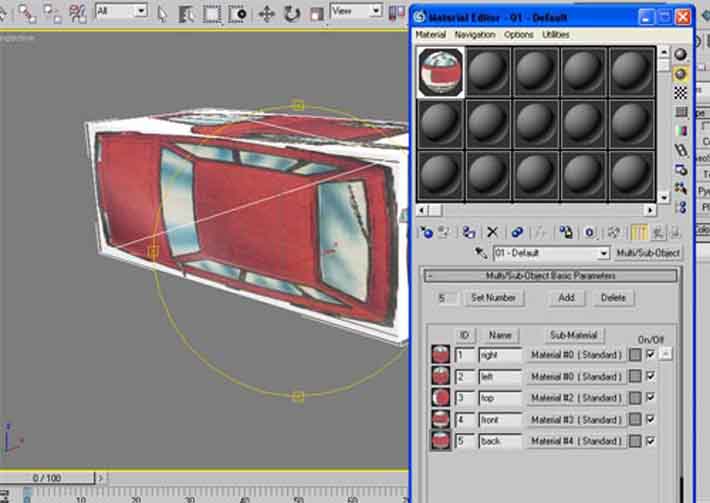
I had sliced blueprint in Photoshop. Then in 3dsmax I created a box with length, width and highth as real car. Now going to Material Editor. There Itake Multi/Sub object material with 5 materials. In those materials for diffusemap take sliced blueprint. You must also push the button: “Show map in viewfront”
Then I converted box into Editable Poly and use Normal modifier on it to flip normals. Then I assigned multi/sub object material to the editable poly. Onfirst image you can see multi/sub object material. On second – final view of Editable Poly.
Here all is very simple. Start with a plane and going on. If some body can’t understand smth ask questions.
There is a photo of this car. Some places in blueprint are incorrect.

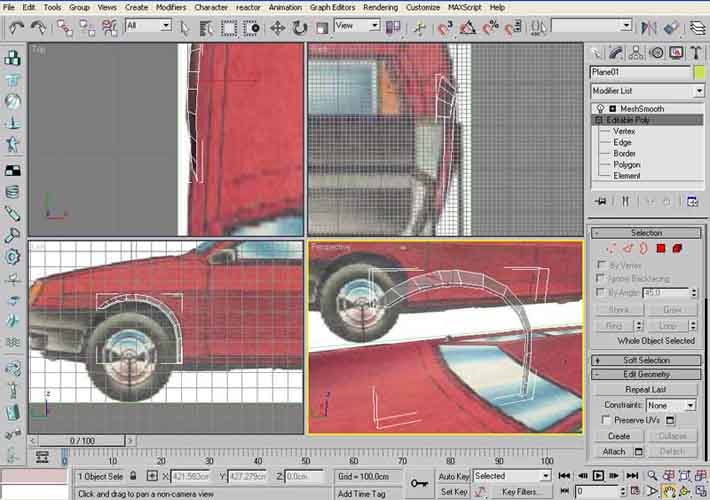
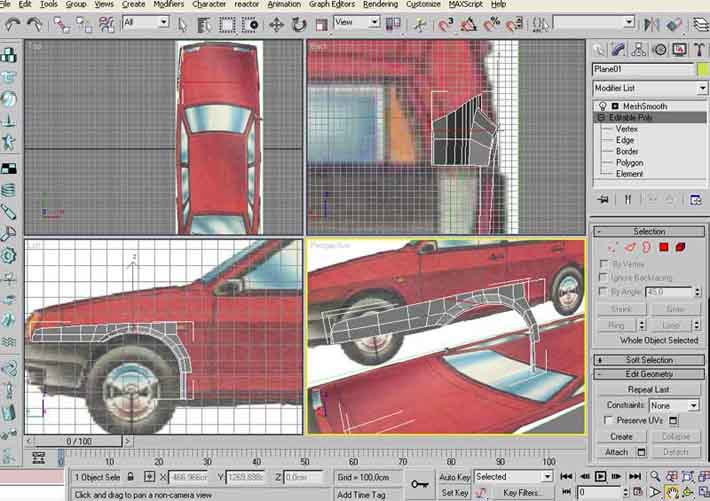
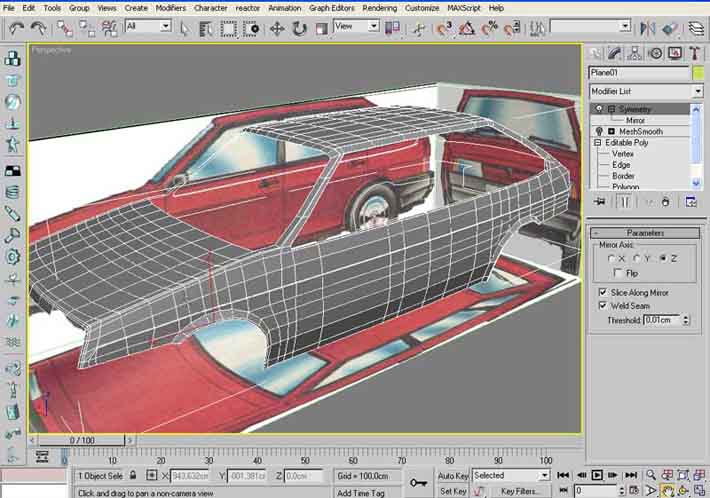
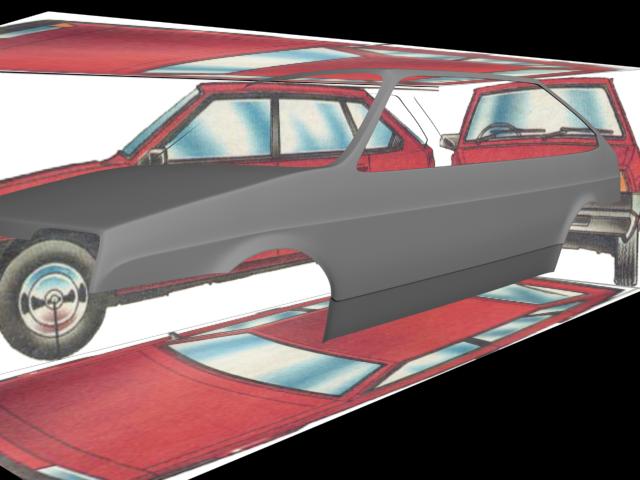
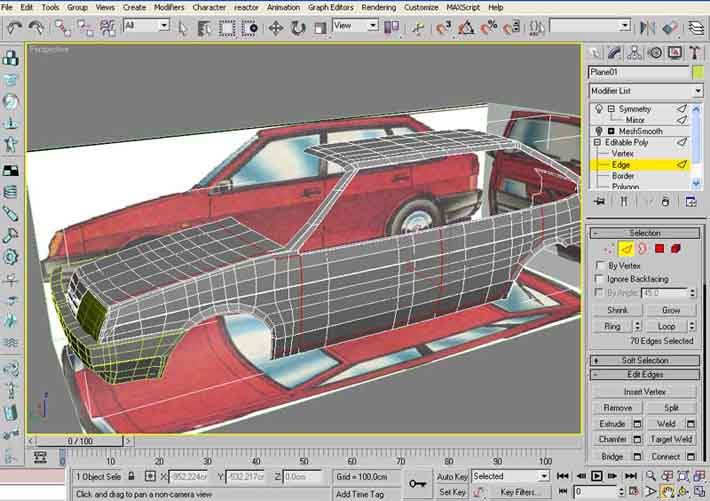
Next we continue work with car body.Everything is simple now. Just look on blueprint and on photos and build geometry.But always remember that blueprint isn’t good!!!
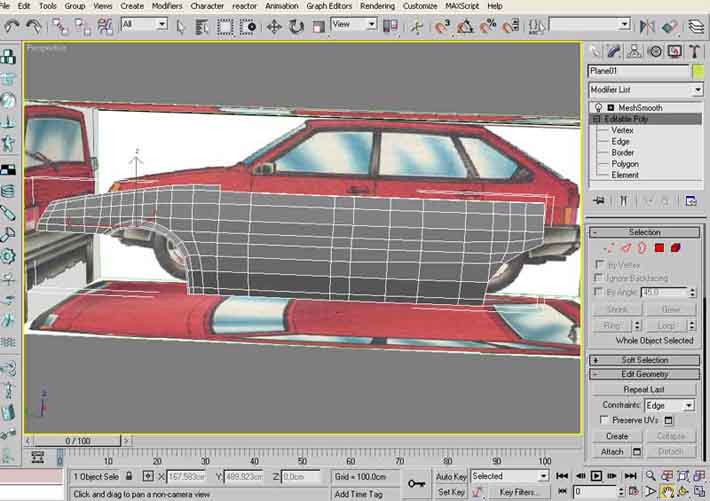
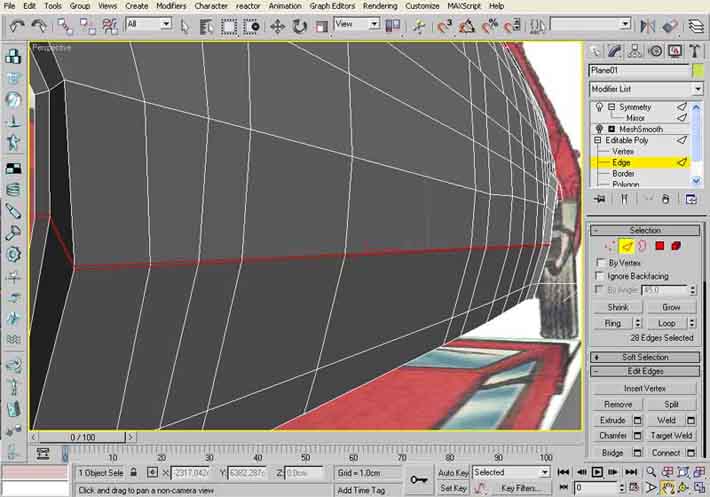
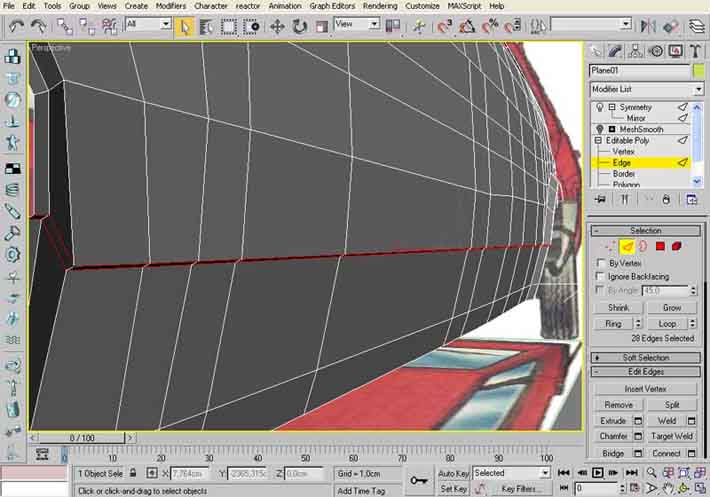
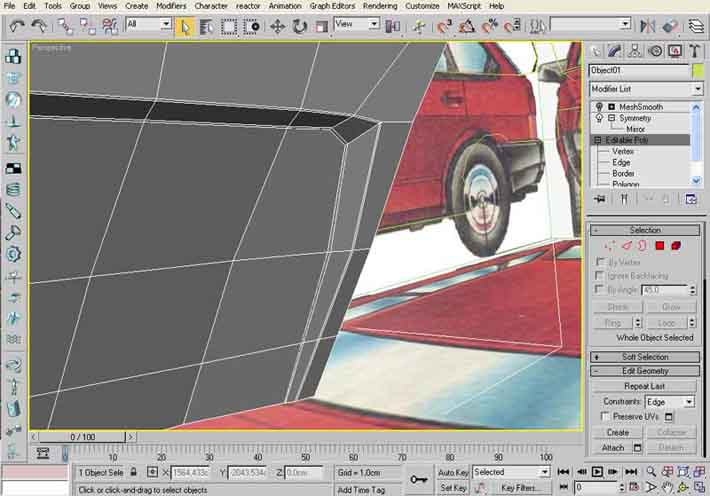
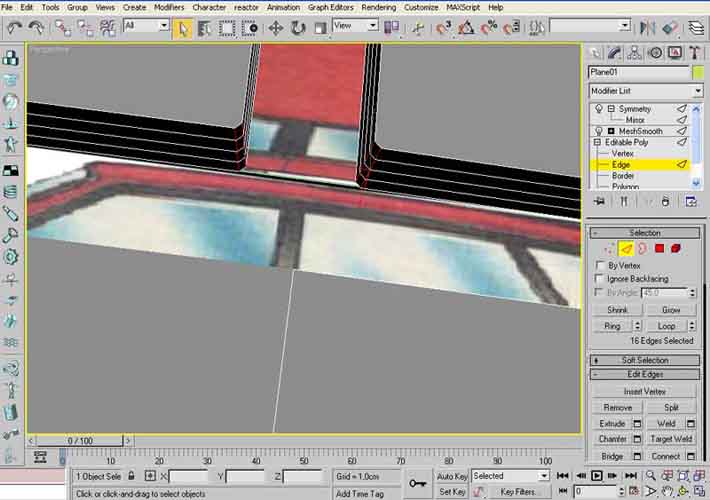
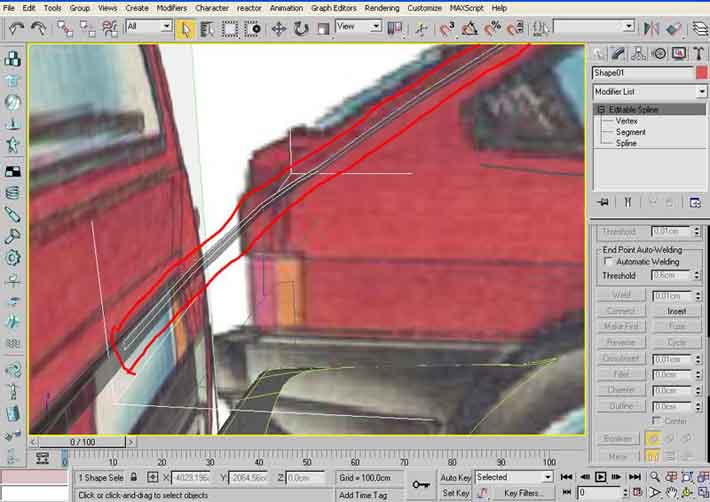
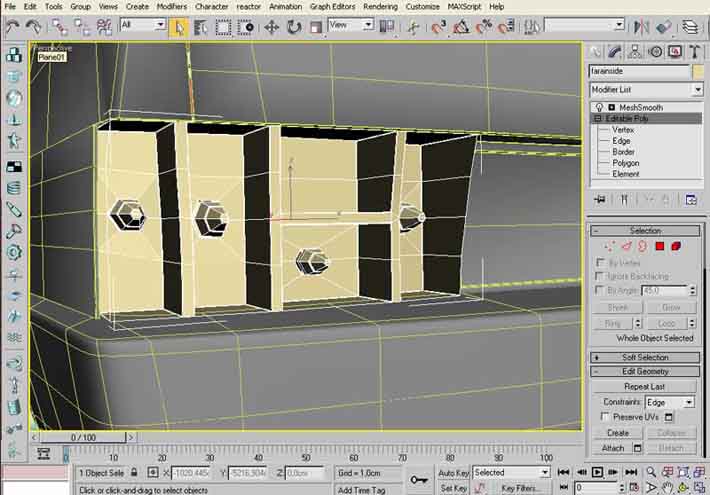
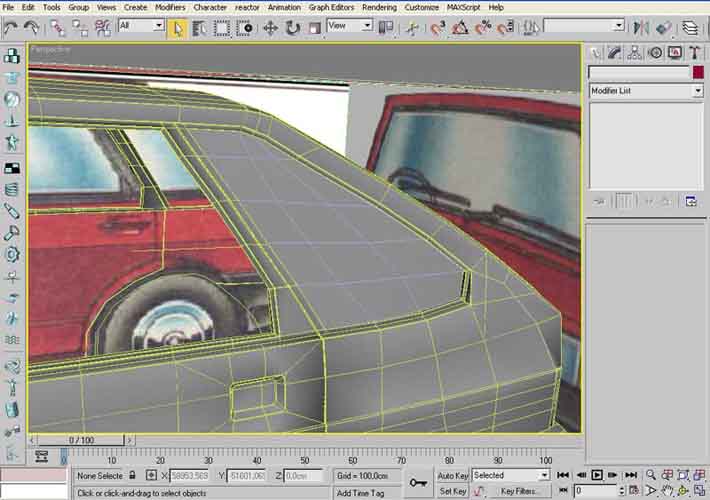
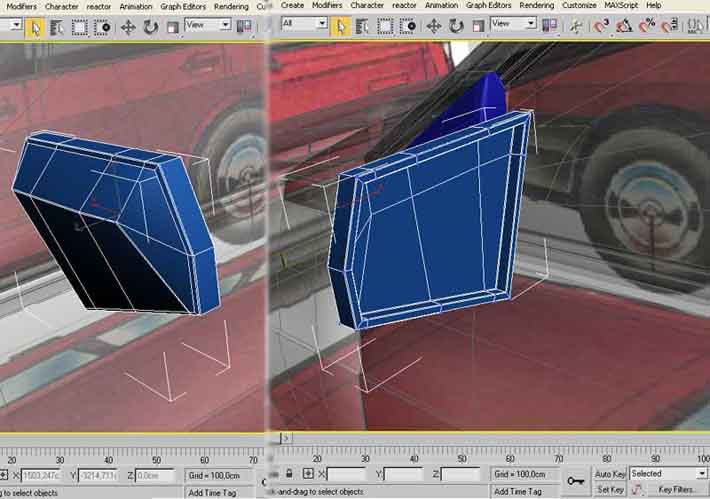
Now I want to explain you how to makerelief edge along the car side.
First, select edges you need. Than apply to them chamfer with chamfer amount1.0. After chamfer you have 2 lines of edges. Select upper edges and move inside the car for a small distance. After that select other ledges line. Andapply chamfer again with chamfer amount 0.1. The hardest place is near front light. Look on the picture I have attached.

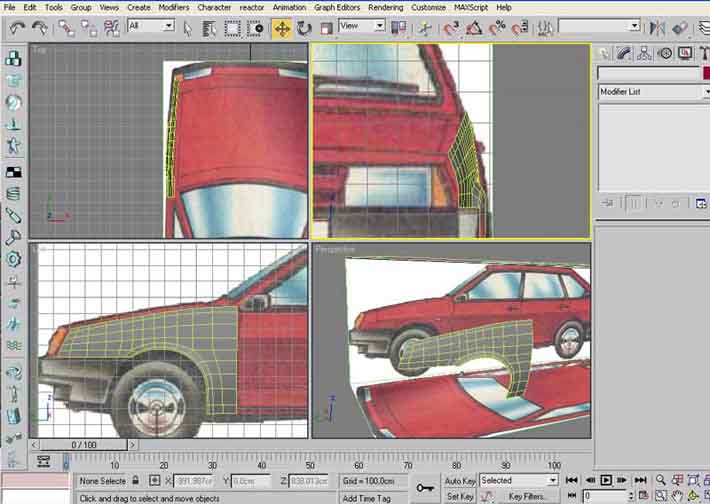
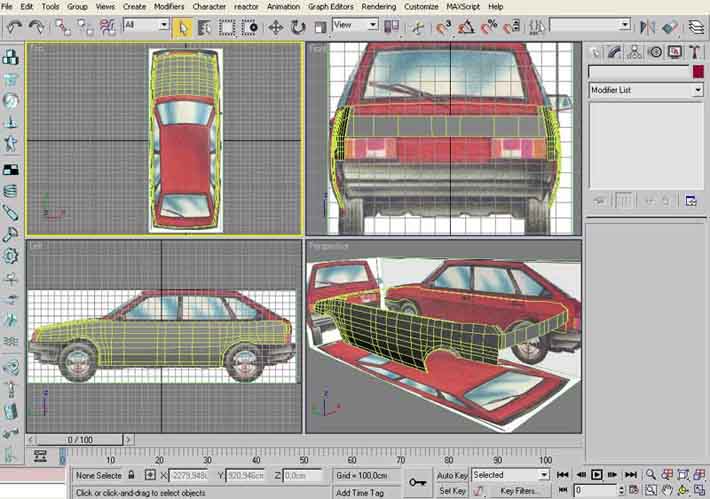
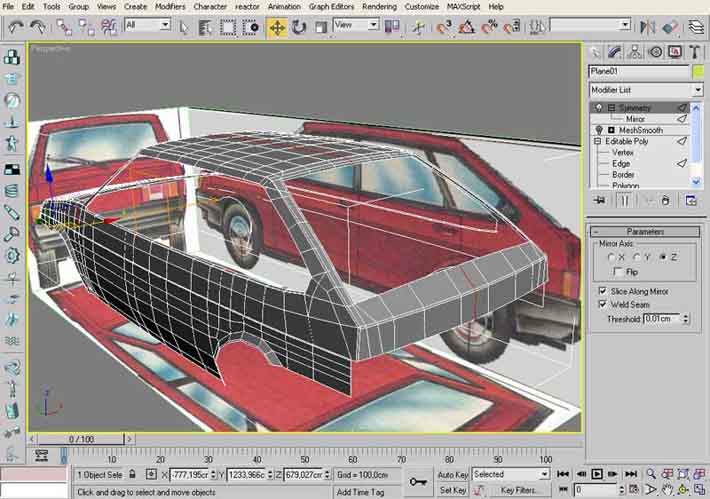
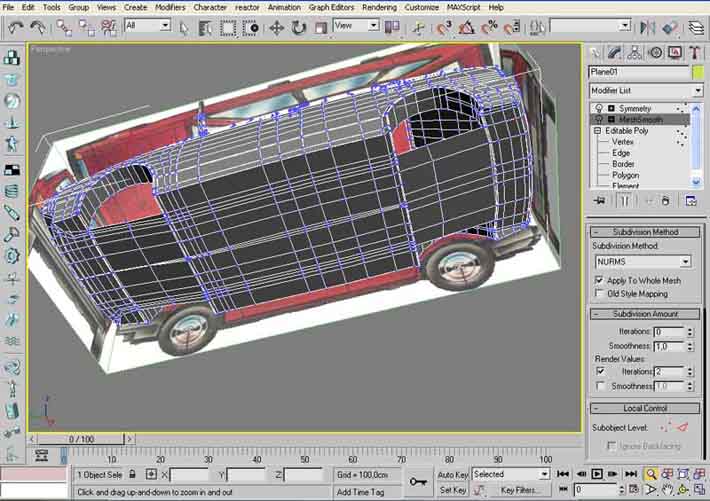
The roof is almost ready. There is no difficult place for modeling here. Just look on blueprints. And don’t forget about chamfer for sharp edges.
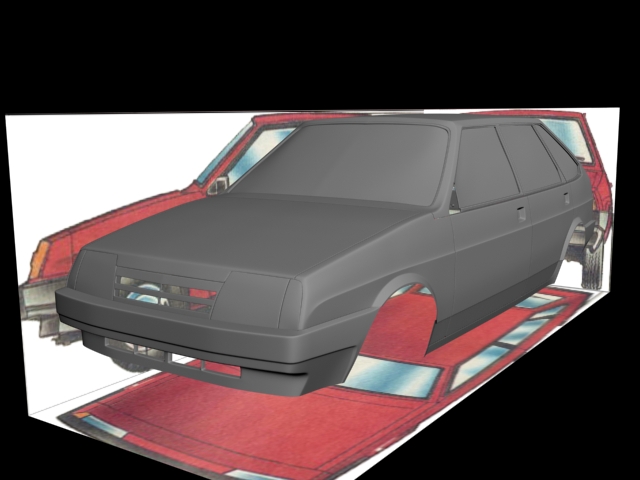
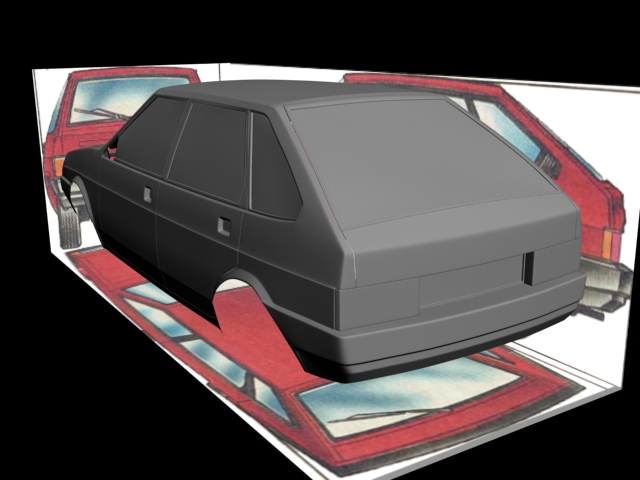
Mesh:
And more renders:
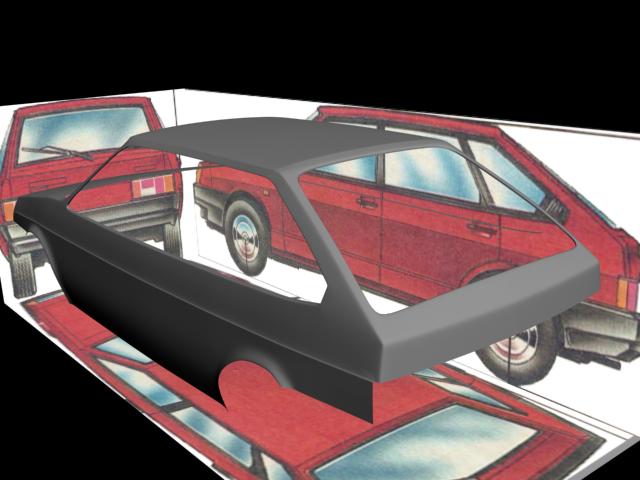
Going on:
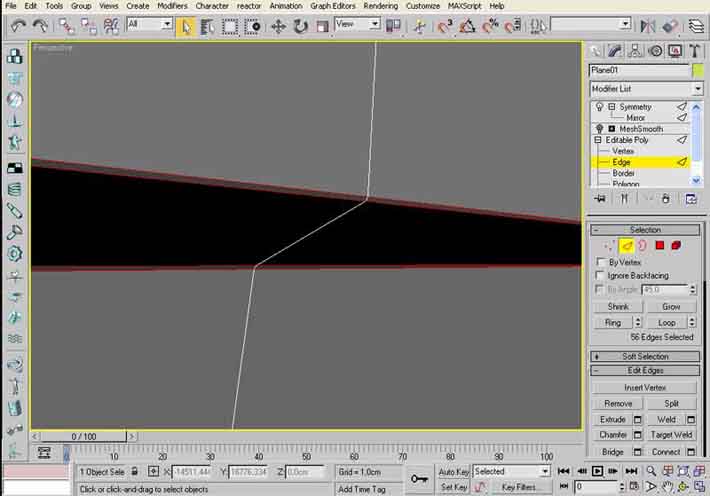
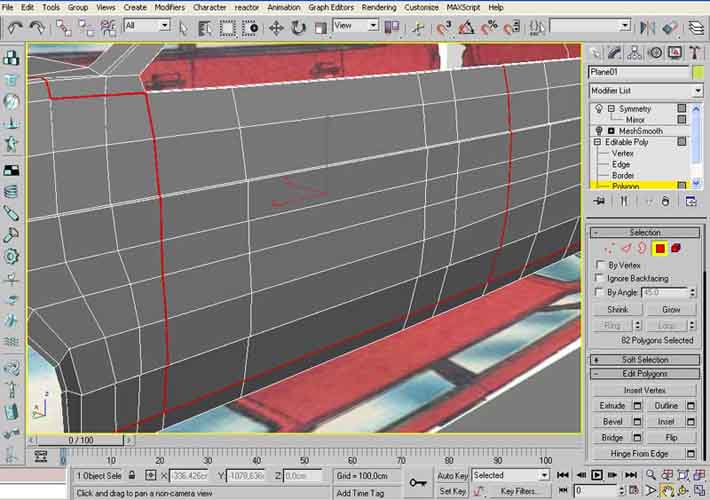
To do relief edge along car side near bottom follow this steps and look pictures:
1. Chamfer the edges you need. Chamfer amount 1.0.
2. Move edges inside the car.
3. Chamfer edges again. Chamfer amount0.1.
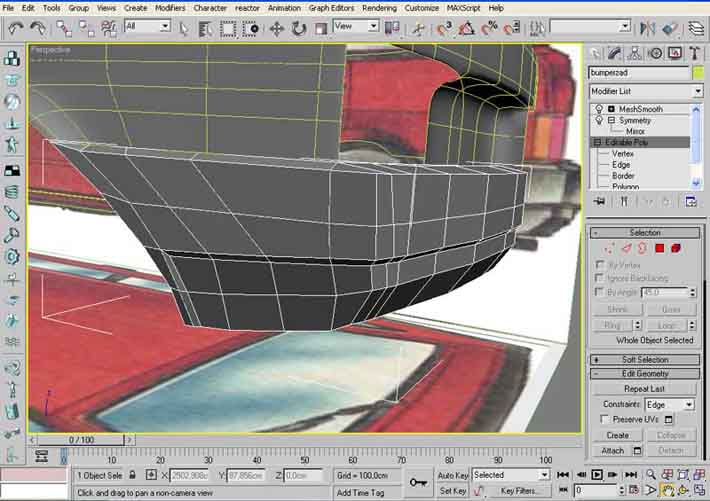
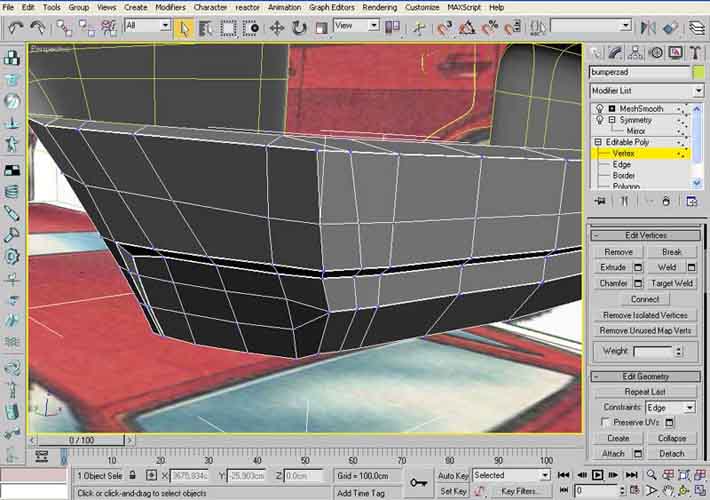
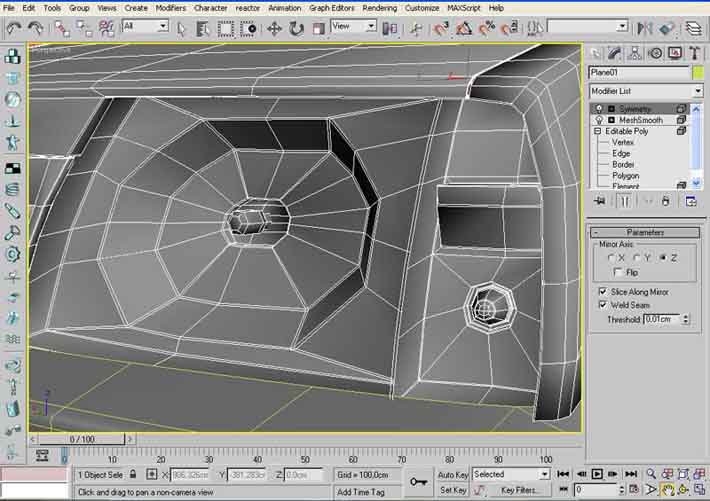
Bumper.
You can see the mesh of the hardest places on these pictures:


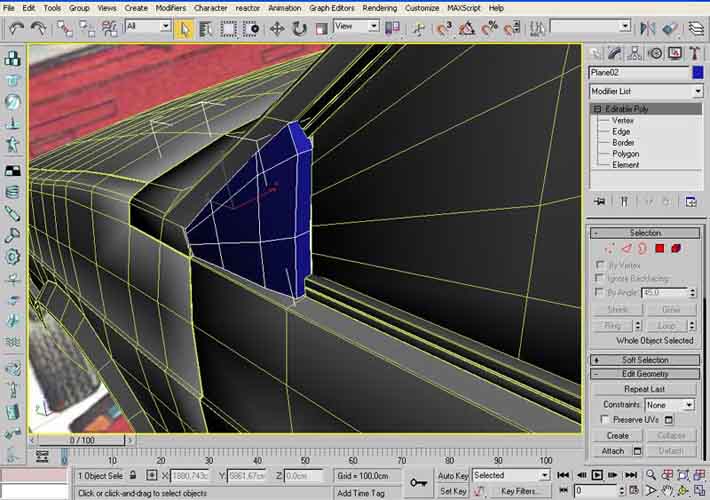
Partof work – stitches.
Many times ago I read Rub’s tutorial about making of car stitches. I used his technology in all my cars.
So, let’s start
1. Select edges.
2. Use chamfer with chamfer amount 1.0.
3. Select created after chamfer polygons.
4. Extrude them for a -0,5 for four times.
5. On some corners edges must be chamfered again.
Look these pictures:

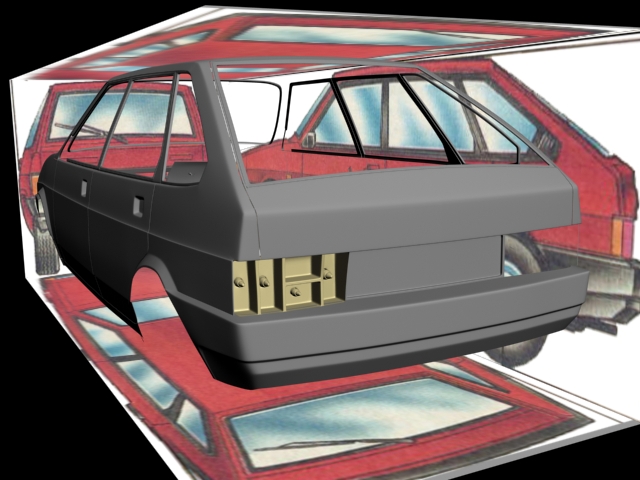
Rear bumper:
First I create basic forms of rear bumper. Only after that I start usingchamfer. After chamfering I had welded unnecessary vertexes.
Rubber smount:
Maybe these method isn’t easy or quick, but I like it, because result of this method is very good.
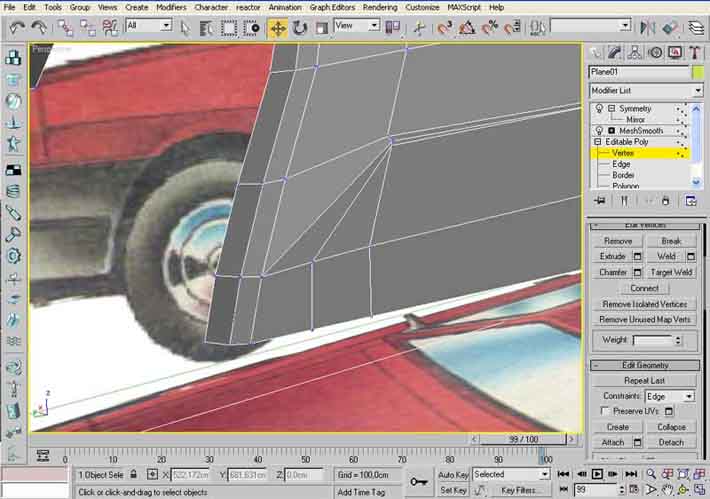
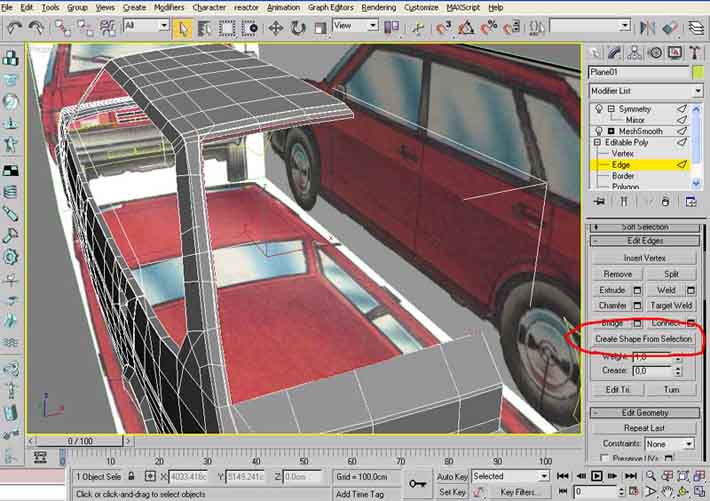
1. Select edges around the window
2. Click “Create shape from selection” button
3. Select created spine
4. Use Outline. I used Outline amount=10.
5. Use extrudes modification on this spine. Select any amount you want.
6. Convert object to editable poly.
7. Connect vertexes along the rubbers mount.
8. Use chamfer to make edges sharper.
Headlights:
I don’t know the real structure of this car headlight, so I thought of it by myself.
Rear light:
You can use the same technique as in headlight.
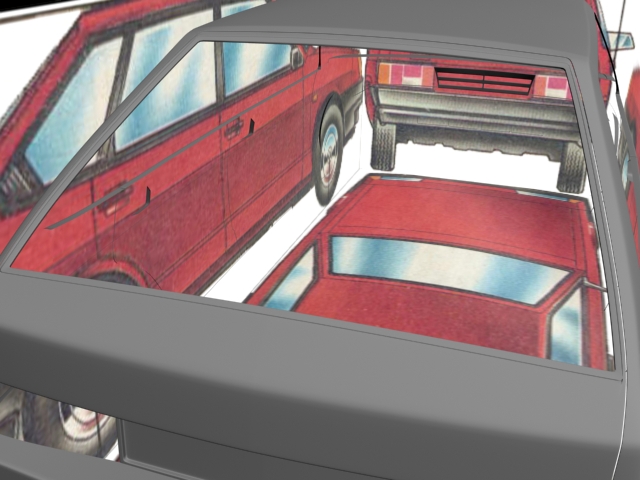
Windows:
I create a window glass from a plane. After setting the form of this plane thatI need I applied Shell modificator on it with inner amount=5. And then chamfer to obtain sharp edges.

Carat this moment:
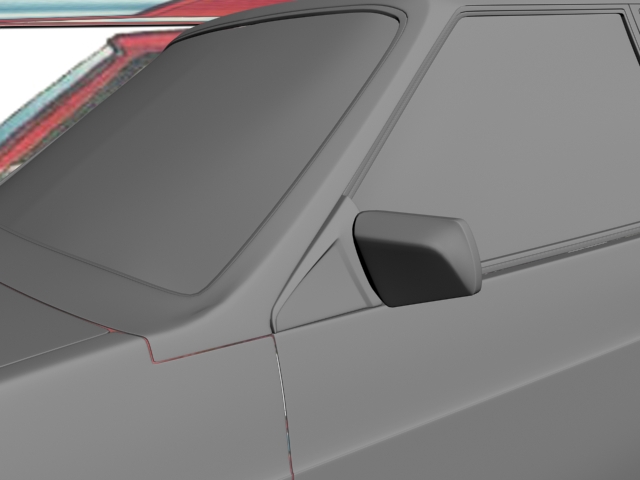
Mirrors.
We will create the mirrors.
Rubber triangle.
1. Start with a plane or box
2. Moving vertexes.
3. Chamfer edges.
Same work with mirror.

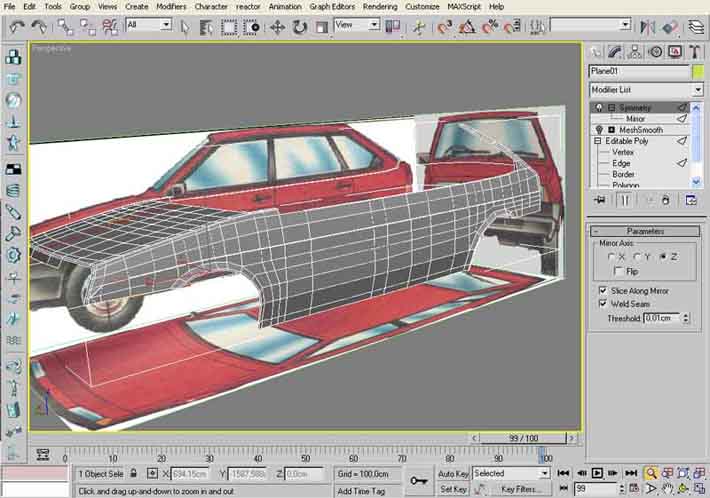
Addingdetails.
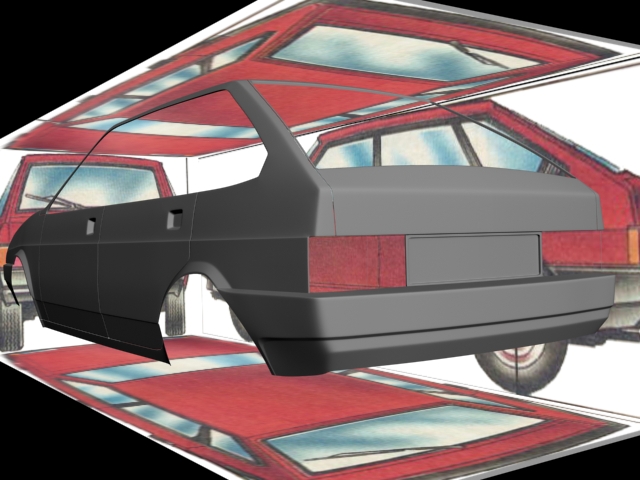
I add some details to the car. Car body isready now.
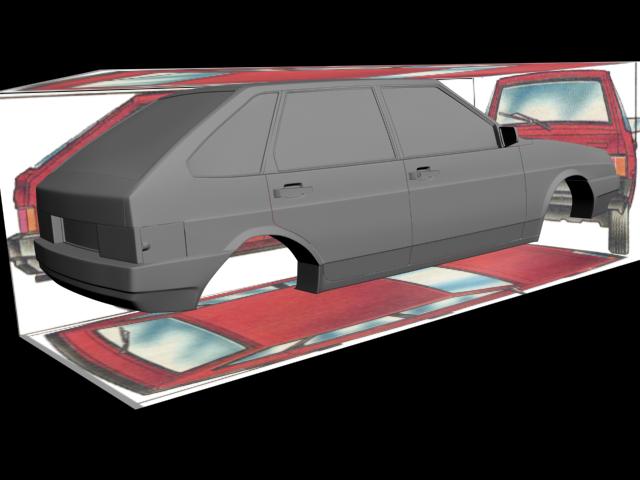
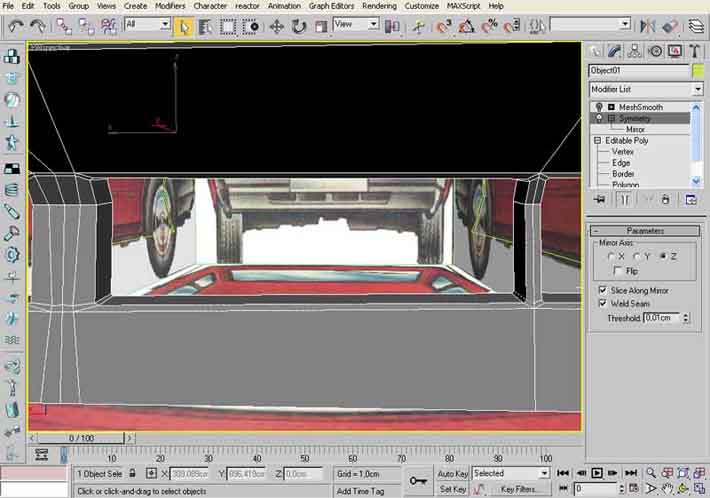
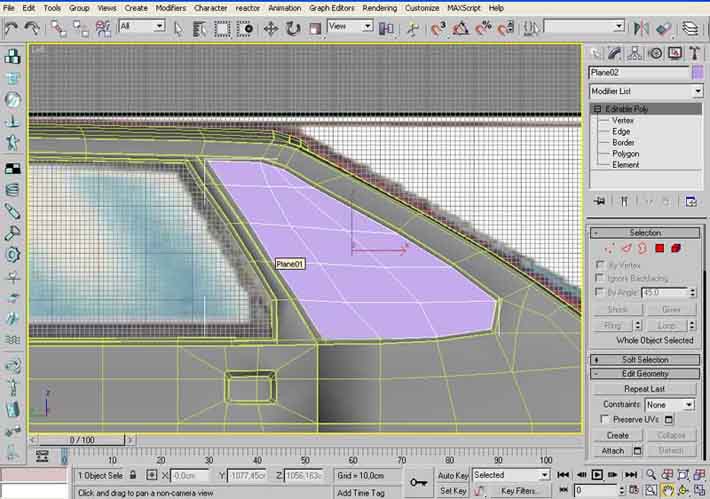
Bottom of the car is very important part.Here is the mesh:
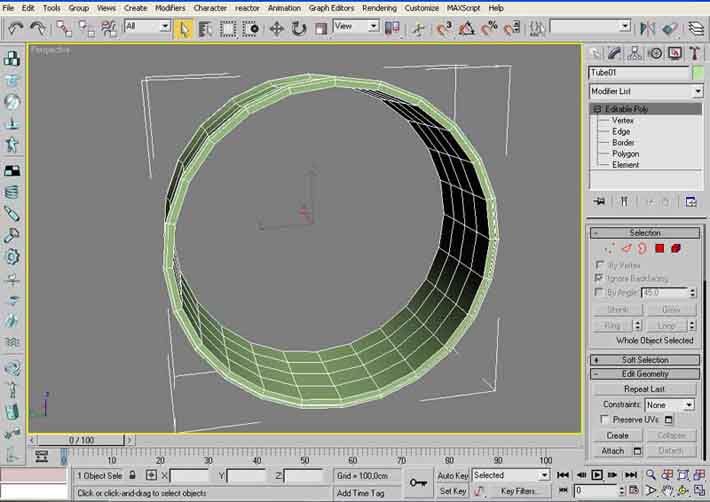
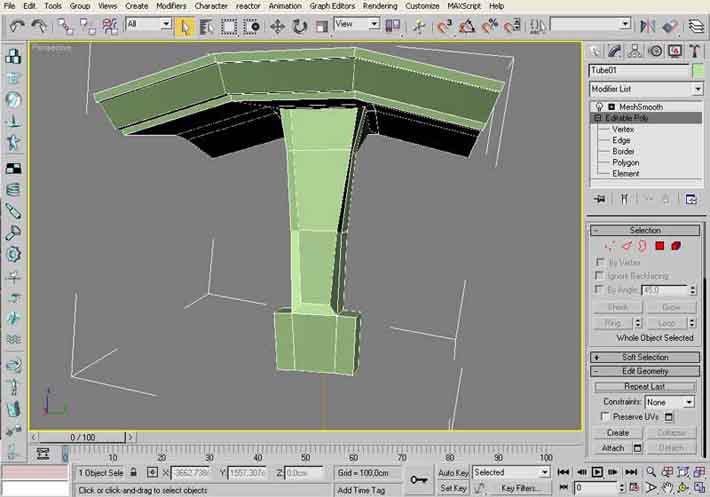
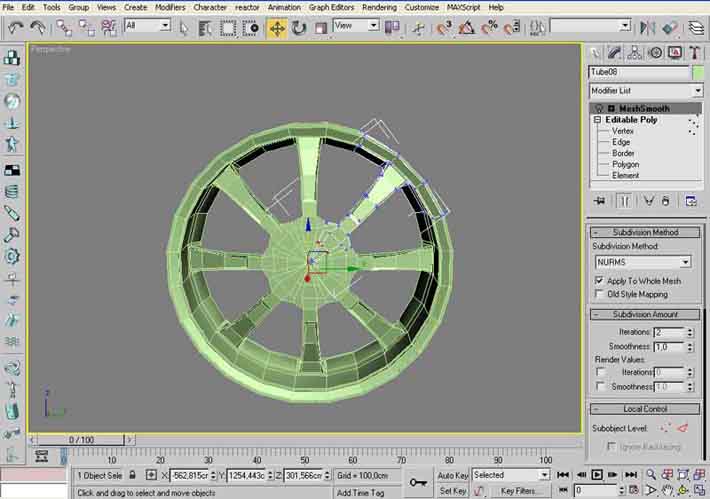
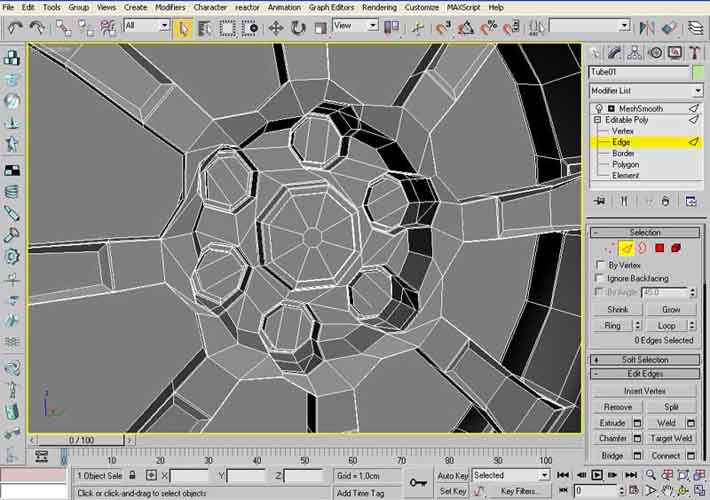
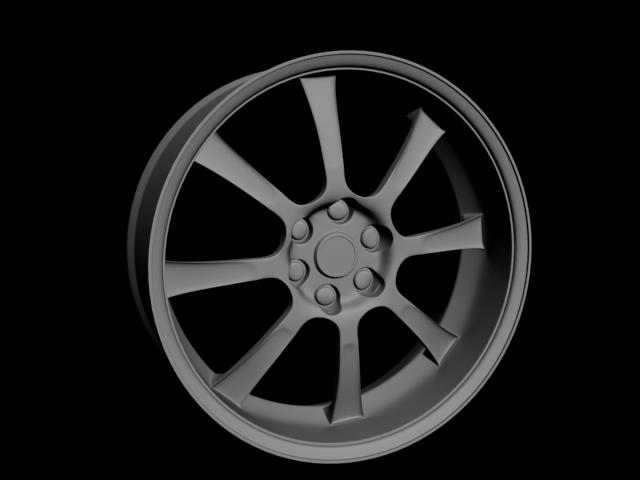
Rims!
I choused BBS Plasma rim for this car.
1. Make a tube with same radius, as rim radius.
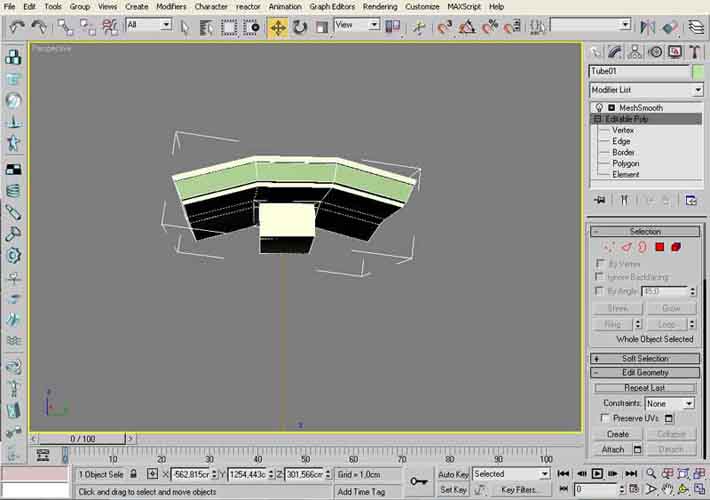
2. Leave only few segments of the tube, for a one part of rim.
3. Then use array with 6 copies and rotation for 360 degrees.
4. Weld all parts together
5. Add details.
You can see this all on the picture:
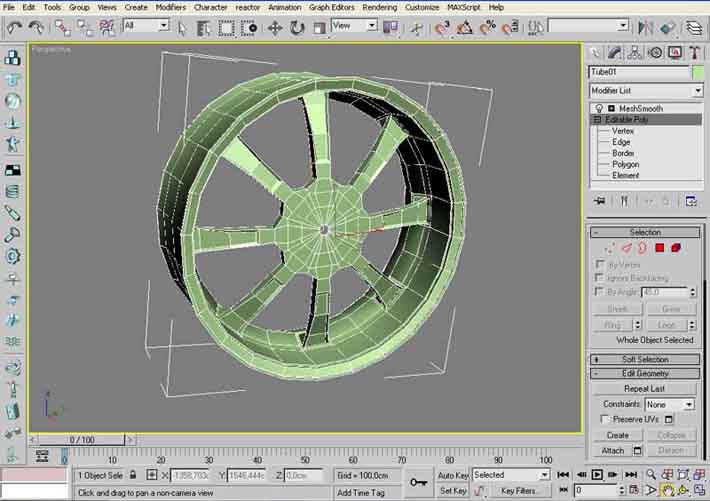
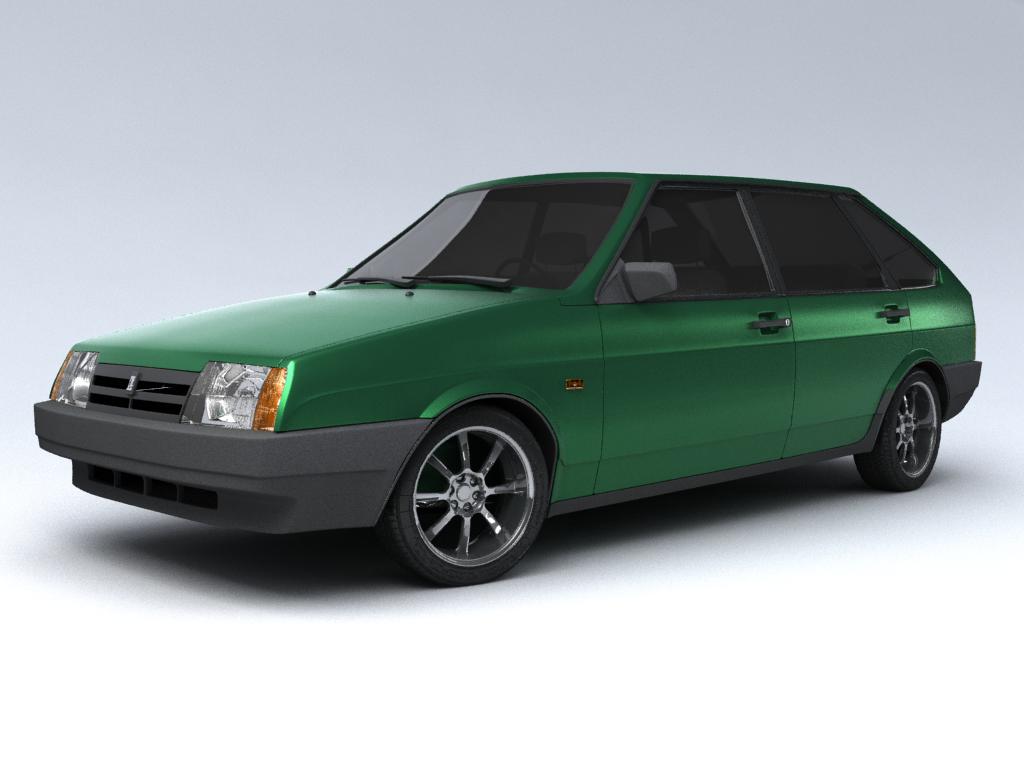
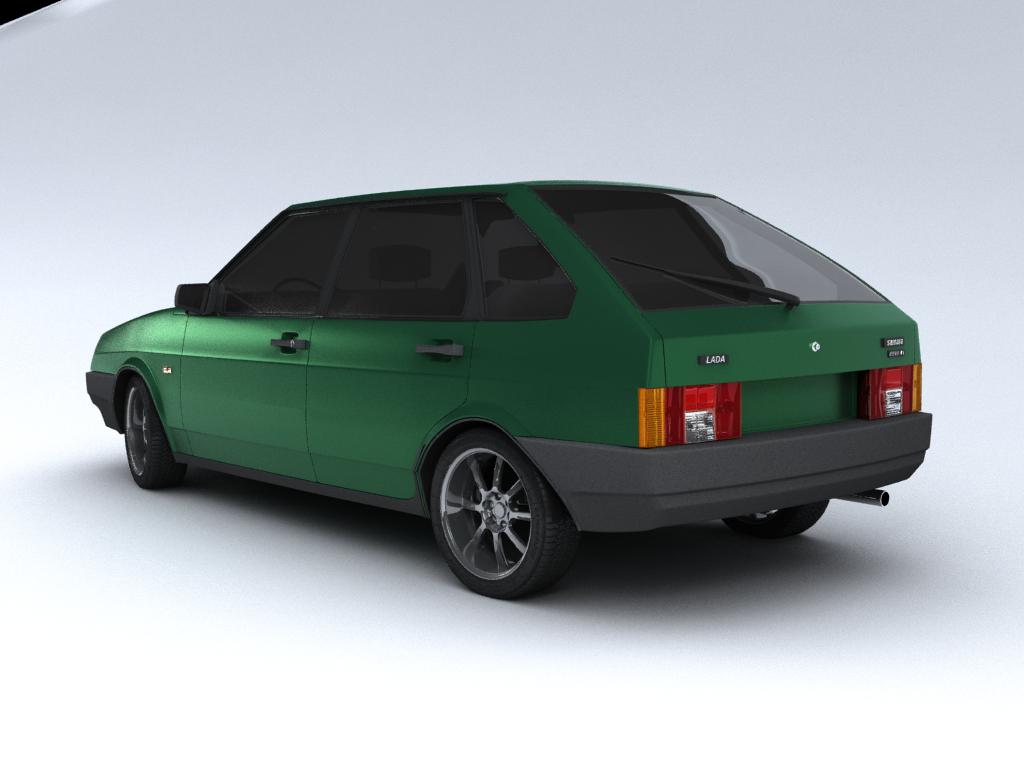
And render with original:
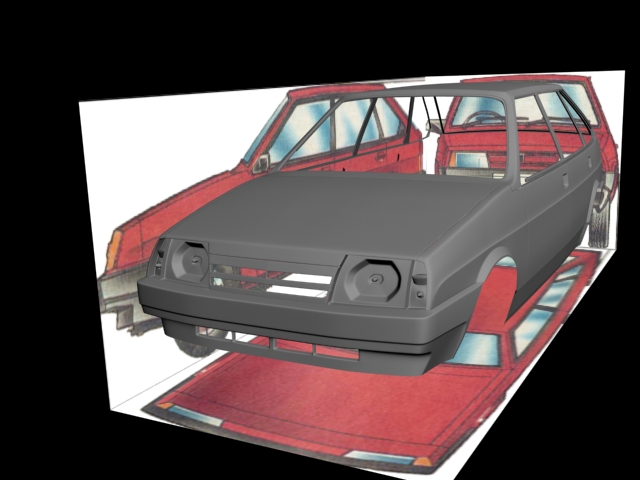
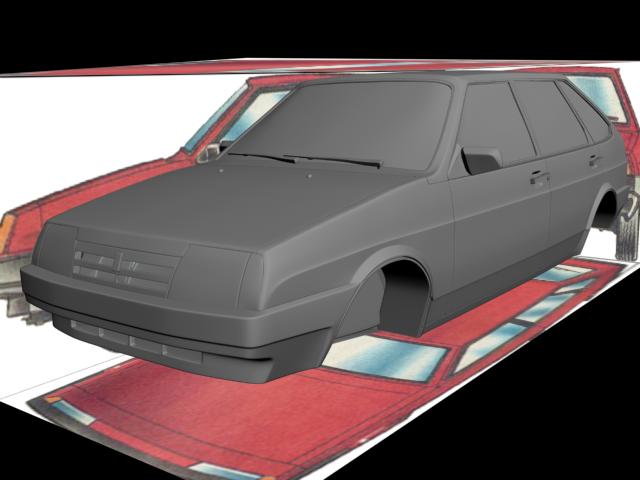
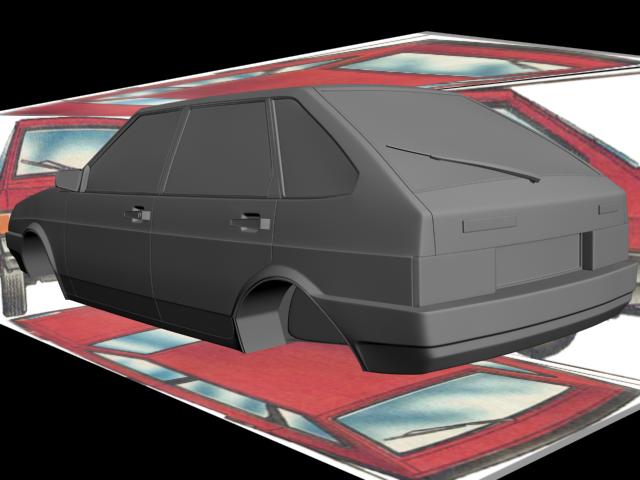
So, here is the final view of the carwithout materials.
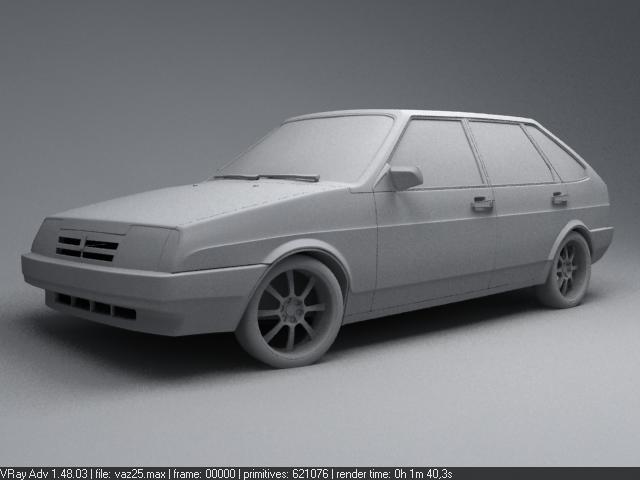
So, here is the final view of the carwithout materials.
Also, I made some small changes in themesh. For this renders I used Vray render engine. There are 3 lights in thisscene. All of them are vraylights: 1-Dome, 2-Plane. Carpaint is based onshellac material. Wheels were made with displacement. All other materials arevrayMtl.
p.s. Big thanks to Odessit for help with rims and wheels materials!!!!!!!!
You can buy this model on 3DExport store just now: here!!!!
Thanks!

About The Author
You might be interested in